
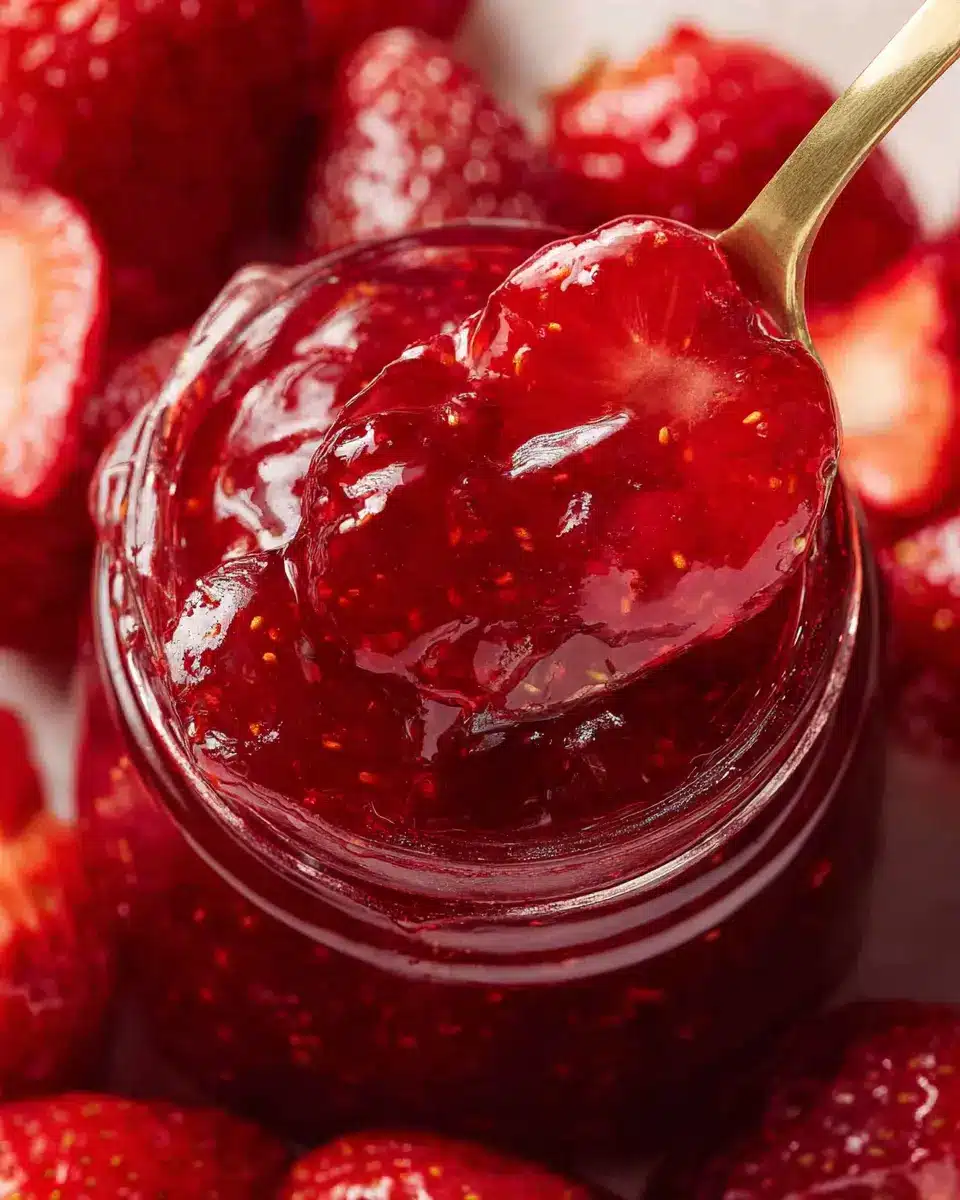
Introduction to Strawberry Jam
Making your own strawberry jam is an incredibly rewarding experience that can elevate your breakfast game or lend a sweet touch to desserts. But why should you consider making it at home?
Why Make Homemade Strawberry Jam?
First and foremost, homemade strawberry jam allows you to enjoy the freshest flavors of the season. You can choose ripe, fragrant strawberries from local farms, ensuring a vibrant and rich taste—something store-bought varieties often lack. Not only can this use up excess fruit, but it also enhances your kitchen with natural sweetness.
Additionally, making your own jam gives you total control over the ingredients. You can adjust the sugar levels to suit your palate or even incorporate exciting flavor additives like herbs or citrus zest. Plus, there’s something special about the scents wafting through your kitchen as you cook up a batch. It’s a simple joy that connects us to our food.
If you're looking for a thorough and easy-to-follow guide, check out more on homemade preserves here. Whether you're spreading the results on toast, using it in desserts, or gifting it in cute jars, homemade strawberry jam can become a cherished staple in your pantry. So why not dive in?

Ingredients for Strawberry Jam
Essential ingredients for a berry good jam
Creating a batch of homemade strawberry jam is all about using high-quality ingredients to ensure rich flavor and perfect texture. Here are the essentials you’ll need:
-
Strawberries (2 lbs/900g): Choose ripe, fragrant strawberries that are deep red in color. The quality of your berries is crucial since they’re the star of the show! Not only do overripe strawberries offer concentrated flavor, but they also reduce waste.
-
Granulated sugar (1¼ cup/250g): Sugar not only sweetens the jam but also helps with preserving it, creating that delightful thick consistency.
-
Lemon juice (2 tbsp/30mL): A splash of lemon juice adds the perfect touch of acidity, enhancing the flavor and balance of your strawberry jam. Plus, it aids in the gelling process!
These simple ingredients combine to create a delightful spread that you can enjoy on toast, in desserts, or even as a sweet topping for sandwiches. Don't underestimate the power of quality ingredients; they truly make all the difference! Want to learn more about the benefits of homemade jam? Check out sources like The National Center for Home Food Preservation for expert guidance.
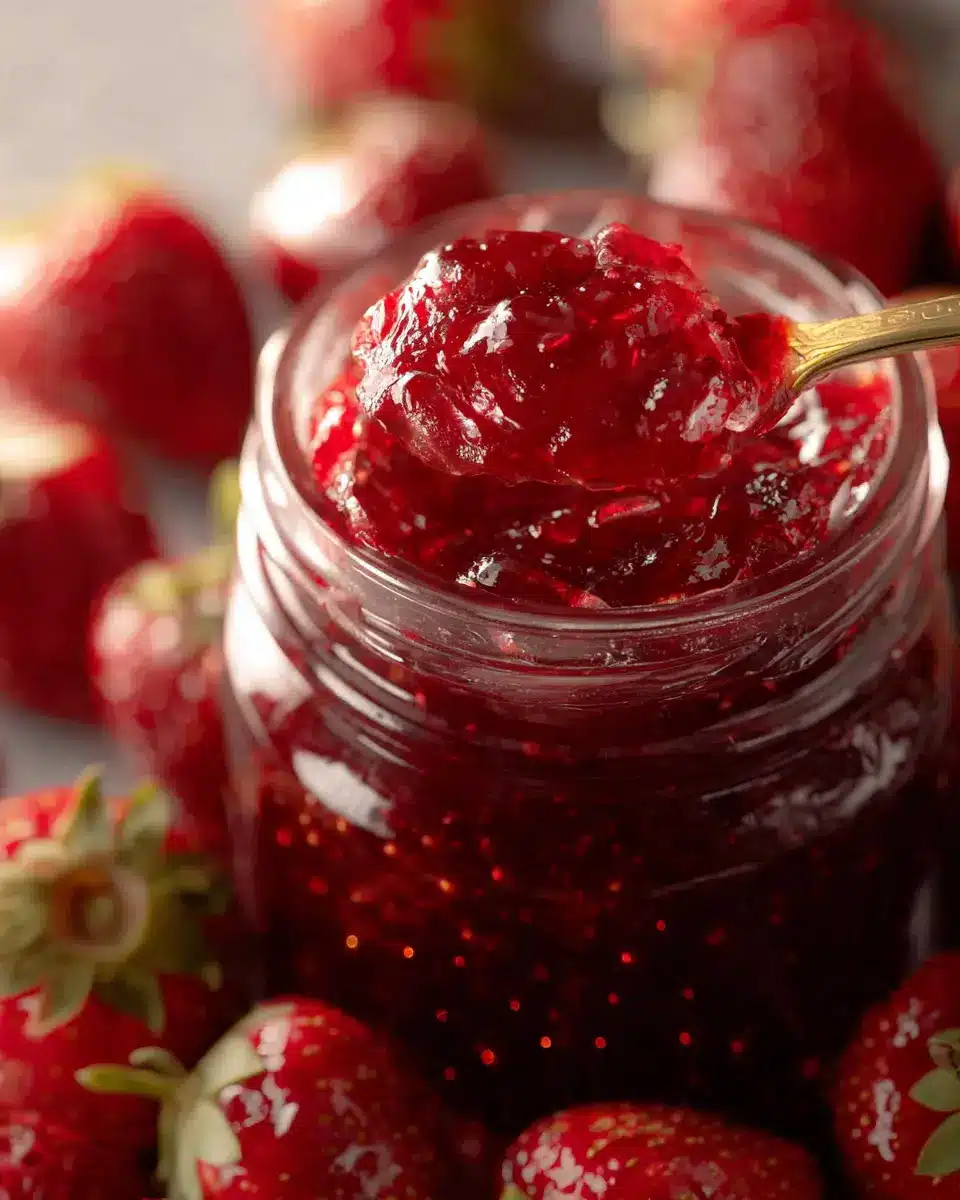
Preparing Strawberry Jam
Making your own strawberry jam might seem daunting, but it’s truly an enjoyable experience that rewards you with delicious results! Here’s a step-by-step guide to help you through the process.
Step 1: Prepare the strawberries
Start by selecting the freshest, ripest strawberries you can find. Look for berries that are deep red and fragrant, as their flavor greatly influences your jam. Rinse them under cool water, then hull and roughly chop them to make them easier to cook. Take your time with this step; after all, the quality of your strawberries will shine through in your final product!
Step 2: Combine strawberries, sugar, and lemon juice
In a large pot, combine your prepared strawberries with the granulated sugar and lemon juice. The sugar not only adds sweetness but also helps in preserving the jam, while lemon juice balances the flavor and helps the jam set. As you mix these ingredients together, you’ll start to notice a beautiful, aromatic fragrance filling your kitchen. It’s hard not to get excited about what’s to come!
Step 3: Cook the jam to perfection
Now comes the fun part! Place your pot over medium-high heat, stirring frequently. Bring the mixture to a gentle boil, then reduce the heat to medium-low to maintain a simmer. You want to avoid a hard boil, as it can foam and overflow. A steady simmer will help break down the strawberries gradually. For about 45 minutes, keep stirring. You’ll want to make sure that nothing sticks to the bottom of the pot. Pro tip: using a long-handled wooden spoon can be a real game changer to prevent splattering.
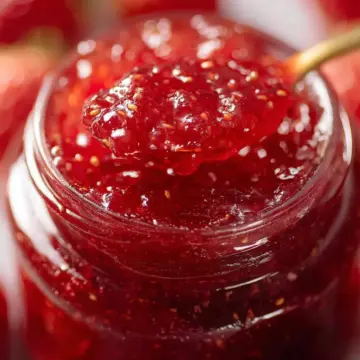
Step 4: Test the jam's consistency
After your jam has simmered, it’s time for the crucial consistency test. Place a small drop of your mixture on a frozen plate (keep a few in the freezer beforehand). After a few minutes, run your finger through the drop; if it holds its shape and doesn’t flood back together, you’re in business. If it’s still too runny for your liking, simmer it a bit longer until you achieve that perfect thickness.
Step 5: Jar the jam and let it chill
Once you’ve reached the desired consistency, it’s time to transfer your strawberry jam into sterilized mason jars. This step is important because it helps prevent bacterial growth, ensuring your creation lasts longer. Allow your jam to cool to room temperature before sealing it up and placing it in the fridge. Don't forget to let it chill overnight! The flavors will meld beautifully, making your morning toast taste even better.
Enjoy your homemade strawberry jam on fresh French bread, scones, or even as a topping for desserts! It’s the perfect way to savor that sweet taste of summer year-round. For more jam-making tips and hacks, check out this article on canning basics.
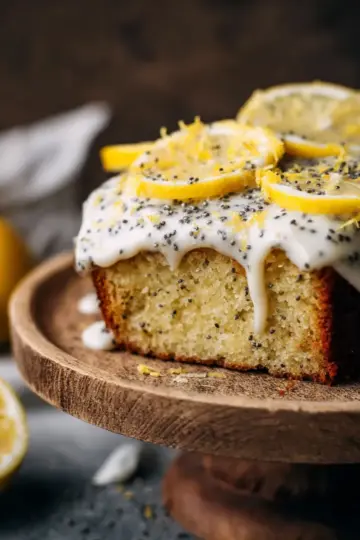
Variations on Strawberry Jam
Lemon-infused Strawberry Jam
For a zesty twist, try lemon-infused strawberry jam. Simply add the zest of one lemon along with the juice while simmering your strawberries. This brightens the flavor profile and gives your jam a refreshing brightness that pairs wonderfully with breakfast foods like pancakes or yogurt. Not to mention, lemon complements the natural sweetness of strawberries beautifully!
Herbed Strawberry Jam with Basil or Mint
Looking to experiment further? Consider making herbed strawberry jam by incorporating fresh basil or mint. A couple of tablespoons of finely chopped herbs added in the final minutes of cooking will infuse your jam with aromatic flavors, creating a unique taste experience. This variation is fantastic on toast or paired with cheese for a gourmet snack.
For more ideas and inspiration, check out Bon Appetit for additional flavor combinations!
Cooking Tips and Notes for Strawberry Jam
Importance of Using Ripe Strawberries
Choosing ripe strawberries is crucial for the best flavor in your strawberry jam. Look for berries that are bright red, fragrant, and slightly soft to the touch. These strawberries are not only sweeter but also packed with concentrated flavor, making your jam irresistibly delicious. If you have overripe strawberries that are too soft to eat fresh, don't hesitate to use them; just be sure there’s no mold. For expert tips on selecting the perfect strawberries, check out this guide on Berry Picking.
Tips for Preventing Burning
To prevent your strawberry jam from burning, stir frequently as it simmers. Using a long-handled spoon, gently scrape the bottom of the pot where sugar can caramelize and stick. Keep an eye on the heat; if your jam starts bubbling too aggressively, simply lower the temperature. This careful attention will help you achieve that perfectly thick consistency without any scorched bits. For more realistic cooking techniques, you might find these simmering tips very helpful!
Serving suggestions for Strawberry Jam
Perfect pairings: What to serve with your jam
When it comes to enjoying your strawberry jam, the possibilities are endless. Here are a few delightful pairings that will enhance your jam experience:
-
Breakfast classics: Spread it generously on warm French bread or buttery scones for a blissful morning treat. Pair with a side of Turkey Bacon for a savory contrast.
-
Cheese board delight: Add a dollop of strawberry jam to a cheese platter. Creamy cheeses like brie or goat cheese complement the sweetness beautifully.
-
Dessert topping: Drizzle it over vanilla ice cream or use it to fill pastries for a sweet indulgence.
-
Savory dishes: Incorporate a spoonful of strawberry jam into marinades or glazes for chicken ham or grilled meats.
For more serving ideas, check out this article!
Time Details for Strawberry Jam
Preparation Time
To get started on your strawberry jam, allot about 20 minutes for washing, hulling, and chopping your strawberries. Giving them a good rinse and prepping them properly ensures the best flavor.
Cooking Time
The actual cooking will take approximately 45 minutes. This is when you'll transform those beautiful berries into a deliciously thick jam.
Total Time
In total, you're looking at around one hour and five minutes from prep to pot. After this, let it chill overnight in a mason jar to enhance the flavors before you enjoy it.
For tips on how to maximize your fruit preserves, check out resources from the National Center for Home Food Preservation. Happy jamming!
Nutritional Facts for Strawberry Jam
Serving Size and Calories
A single tablespoon of your homemade strawberry jam packs a delightful flavor and modest calorie count of just 37 calories. This makes it a fantastic topping for breakfast options, complementing everything from toast to yogurt.
Sugar and Fiber Content
When it comes to sweet indulgence, this jam contains 9.3 grams of sugar per tablespoon. It's important to balance sugar intake, but the good news is that it also offers 0.2 grams of fiber. For those seeking a healthier lifestyle, spreading a thin layer of strawberry jam on whole-grain bread can be a guilt-free treat.
If you're interested in more details on fruit nutrition, check out resources like the USDA's FoodData Central for comprehensive insights on fruit benefits.
FAQs about Strawberry Jam
Can I use frozen strawberries for jam?
Absolutely! In fact, using frozen strawberries can yield delicious results. They’re often picked at peak ripeness and flash-frozen, preserving their flavor. Just be sure to thaw them before use, and drain any excess liquid to avoid a watery jam.
How long does homemade jam last in the fridge?
Once you’ve prepared your delectable strawberry jam, it can last in the refrigerator for about 2 to 3 weeks. If you want to enjoy it longer, consider canning or freezing it for even extended storage. Just make sure to store it in sterilized jars to maintain its freshness.
What can I do with leftover jam?
Leftover strawberry jam can transform your breakfast or snack game! Spread it on French toast, mix it into yogurt, or use it as a filling for pastries. It can also elevate savory dishes; try using it in glazes for chicken or as a topping on cheese and crackers for an impressive appetizer.
For more ideas on utilizing jam, check out this comprehensive guide on versatile uses for homemade jams!
Conclusion on Strawberry Jam
Making homemade strawberry jam is not just about preserving fruit; it's a sweet way to savor summer all year round. With just three simple ingredients, you can enjoy the rich flavors and aromas of fresh strawberries. Don’t hesitate to experiment with variations, and share your tasty creations with friends and family!
Strawberry Jam
Equipment
- large pot
- Mason jar
- potato masher
- non-metal spoon
Ingredients
- 2 lbs strawberries halved
- 1.25 cups granulated sugar 250g
- 2 tablespoon lemon juice 30mL
Instructions
- Prep the strawberries by washing, hulling, and roughly chopping.
- Add the chopped strawberries, sugar, and lemon juice to a large pot. Place over medium-high heat.
- Stirring frequently, bring the berries to a boil. Reduce the heat to medium-low to keep the berries at a simmer.
- Let the jam simmer for about 45 minutes, frequently stirring, until the jam is thick and syrupy and reaches 220F on a candy thermometer.
- Check to see if it's ready by adding a small drop to the frozen plate. Return it to the freezer. After a few minutes, check the consistency.
- When it’s done, pour the jam into a mason jar and chill overnight.
- Serve on french bread or scones.


Leave a Reply