
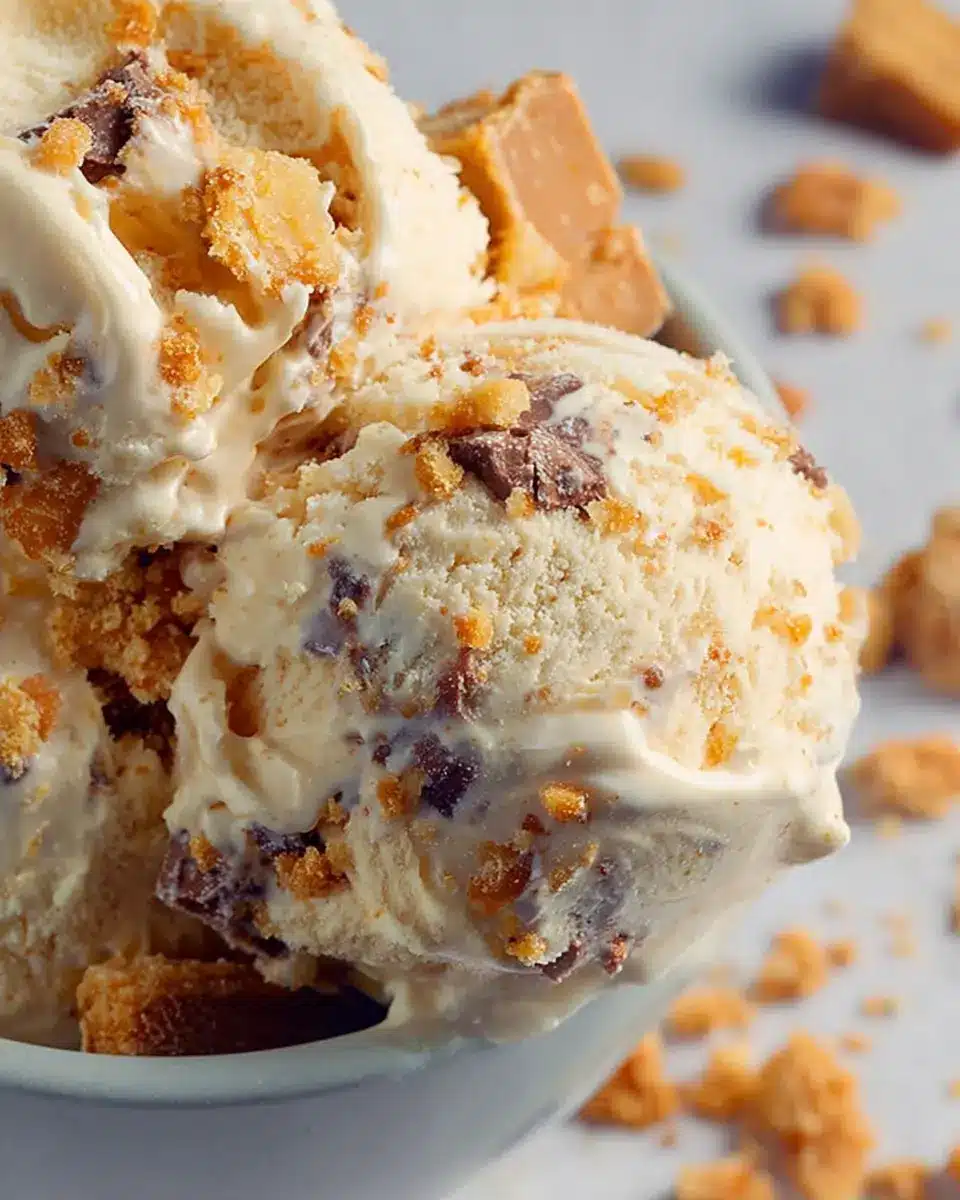
Introduction to Homemade Butterfinger Ice Cream
Have you ever bitten into a Butterfinger candy bar and thought, “This would be incredible as ice cream”? If so, you’re in for a treat! Making your own homemade Butterfinger ice cream not only lets you indulge in this nostalgic flavor but also gives you control over the quality of ingredients. Plus, creating ice cream at home can be a fun and rewarding experience, especially if you have friends over or it's a warm day.
Why make homemade Butterfinger ice cream? Well, for starters, it’s incredibly simple and doesn't require any fancy equipment or techniques. You can whip up a delicious batch with just a handful of ingredients, and you’ll love knowing exactly what’s going into your treat.
Many people struggle to find their favorite ice cream flavors at the store, but when you make your own, you can customize the sweetness and chunks of Butterfinger to suit your taste perfectly. Plus, as you experiment, you might even discover new flavor combinations that surprise you.
If you’re excited about the idea of creamy, peanut buttery goodness, keep reading for a straightforward recipe that anyone can follow. Before you know it, you'll be enjoying ice cream that’s not only refreshing but also a childhood favorite! For tips on the best ice cream makers, check out resources like Serious Eats.
Ingredients for Homemade Butterfinger Ice Cream
Crafting your own homemade Butterfinger ice cream is simpler than you might think! Here’s a list of the ingredients you’ll need to create this creamy, crunchy delight that will satisfy your sweet tooth.
Essential Ingredients
- 2 cups whipping cream: This will give your ice cream that rich, velvety texture.
- 1 can (12 oz) evaporated milk: It adds creaminess and depth.
- 1 can (14 oz) sweetened condensed milk: For that irresistible sweetness.
- 4 cups milk: Any type works; whole milk will give you the best creaminess.
- 1 small package instant vanilla pudding: This plays a crucial role in achieving that smooth consistency.
- ¾ cup sugar: Adjust based on your sweetness preference.
- 2 teaspoons vanilla: Pure vanilla will enhance the flavor beautifully.
- 6 (1.9 oz) Butterfinger candy bars, crushed: The star of the show!
Whether you’re enjoying a scoop on a hot day or topping your dessert with chocolate sauce, these ingredients come together to make a delicious treat. Check out more tips on making your ice cream even better here.
Preparing Homemade Butterfinger Ice Cream
Making your own homemade Butterfinger ice cream is not just a delightful treat; it's a fun and enjoyable experience. The creamy texture, paired with crunchy Butterfinger pieces, creates a dessert that is perfect for warm days or any time you’re craving a sweet indulgence. Let’s dive into the simple steps to prepare this delicious ice cream!
Gather Your Ingredients
Before you begin whipping up your homemade Butterfinger ice cream, make sure you have all the right ingredients. Here’s what you’ll need:
- 2 cups whipping cream
- 1 can (12 oz) evaporated milk
- 1 can (14 oz) sweetened condensed milk
- 4 cups milk
- 1 small package instant vanilla pudding
- ¾ cup sugar
- 2 teaspoons vanilla extract
- 6 (1.9 oz) Butterfinger candy bars, crushed
Having everything ready to go makes the process smoother and more enjoyable. And hey, the real fun begins once you start combining these sweet ingredients!
Combine the Base Mixture
Start by mixing your base ingredients in a large bowl. This step is crucial for ensuring that your ice cream achieves that creamy texture. Combine the whipping cream, evaporated milk, sweetened condensed milk, milk, instant vanilla pudding, sugar, and vanilla extract.
Using an electric mixer, beat everything together until it's well combined and slightly thickened. This mixture forms the foundation of your homemade Butterfinger ice cream. If you need tips on mixing techniques, check out this guide from King Arthur Baking that can help improve your mixing skills.
Mix in the Crushed Butterfingers
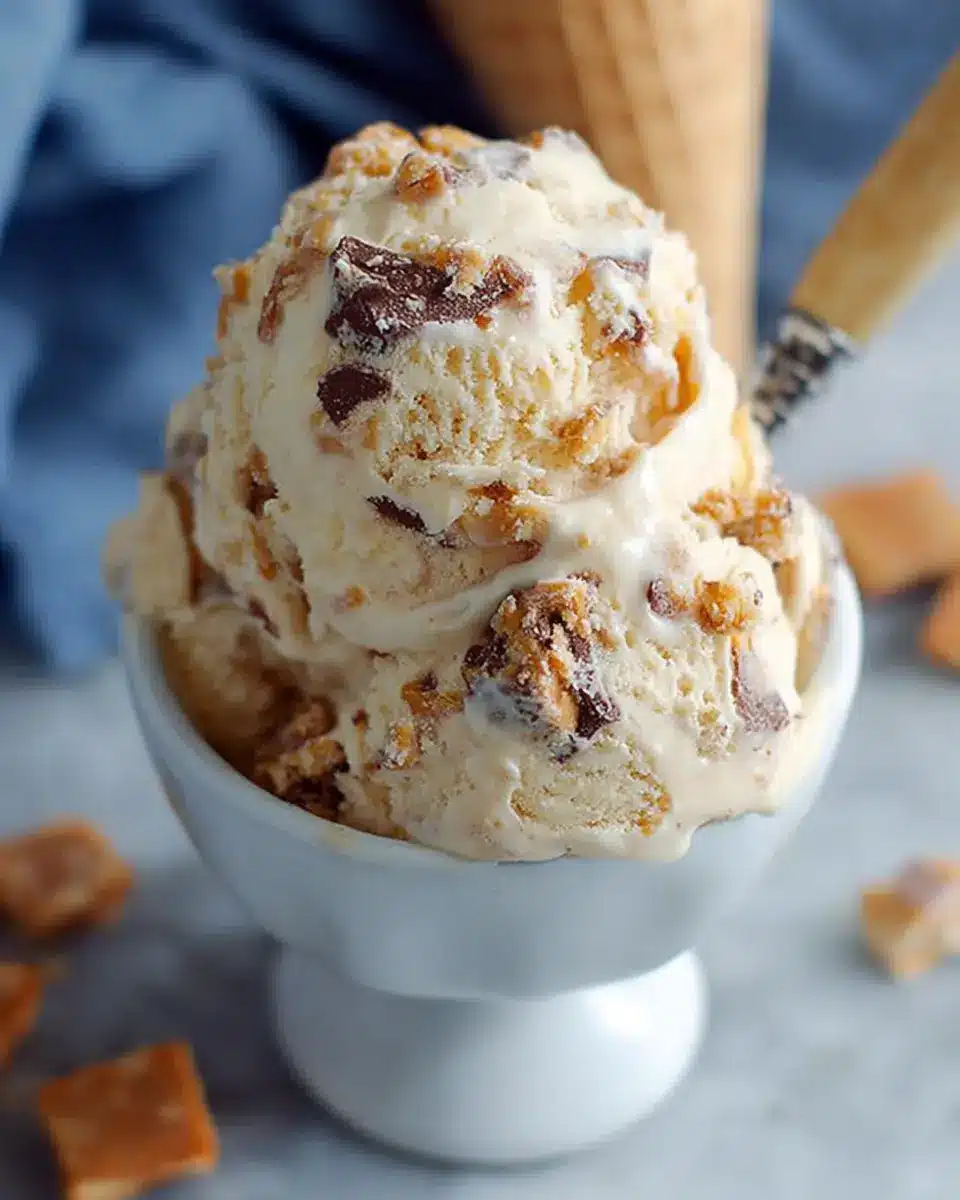
Once your base mixture is ready, it’s time to fold in the star of the show: the crushed Butterfingers! Stir the crushed candy bars into the mixture evenly. If you're like me, you might even want to reserve some pieces for later—adding larger chunks after the ice cream has set can create delightful bites of crunch in every scoop!
Freeze the Ice Cream
Now that your mixture is all set, it’s time to freeze! Pour the mixture into your ice cream maker's canister and follow the manufacturer's instructions. Typically, it will take about 20-30 minutes for the ice cream to reach that perfect texture.
After the initial freezing, consider adding those reserved Butterfinger chunks and stir them gently into the mix. Then transfer your creamy creation to an airtight container and let it firm up in the freezer for a few more hours.
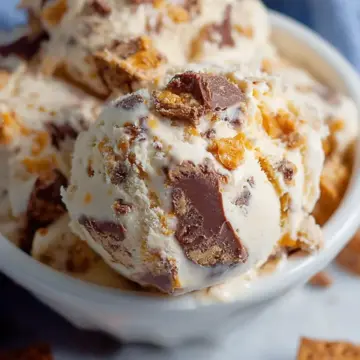
And there you have it! Your homemade Butterfinger ice cream is ready to be enjoyed. This dessert not only satisfies your sweet tooth but also invites a bit of nostalgia that makes each scoop a delightful blast from the past. Enjoy!
Variations on Homemade Butterfinger Ice Cream
Peanut Butter Swirl Variation
For an extra indulgent twist, consider adding a peanut butter swirl to your homemade Butterfinger ice cream. Simply melt ½ cup of creamy peanut butter and drizzle it into the ice cream mixture just before the final freeze. Use a knife to create beautiful swirls—you’ll love the combination of creamy peanut butter and crunchy Butterfinger pieces!
Chocolate Fudge Ribbon
If you're a chocoholic, you can't miss this chocolate fudge ribbon variation. Heat up 1 cup of chocolate fudge sauce and gently fold it into the mixture during the freezing process. This gooey ribbon complements the crunchy Butterfinger bars perfectly, creating a delicious contrast of textures that will have your taste buds dancing.
Explore these variations to make your homemade Butterfinger ice cream even more tempting, and treat yourself to a delightful dessert experience! For more tips and tricks, check out this guide on ice cream flavors for inspiration.
Cooking Tips and Notes for Homemade Butterfinger Ice Cream
Making your own homemade Butterfinger ice cream is a delightful experience that can be customized to your taste. Here are some tips to ensure you achieve the perfect creamy texture and flavor:
-
Chill Your Ingredients: Before you start, cool your whipping cream and milk in the refrigerator. This helps the ice cream freeze faster and results in a creamier consistency.
-
Butterfinger Add-Ins: Don't hold back on the Butterfinger pieces! For an extra crunch, save some chopped Butterfinger bars to stir in right before serving, letting you enjoy those delectable surprises in every scoop.
-
Stirring Gently: When mixing your ingredients, use a gentle hand to keep air in the mixture—this is key for that perfect ice cream texture.
With these notes, your homemade Butterfinger ice cream will surely impress family and friends. For more flavor inspirations, check out these ice cream-making tips at Food Network or BBC Good Food. Happy churning!
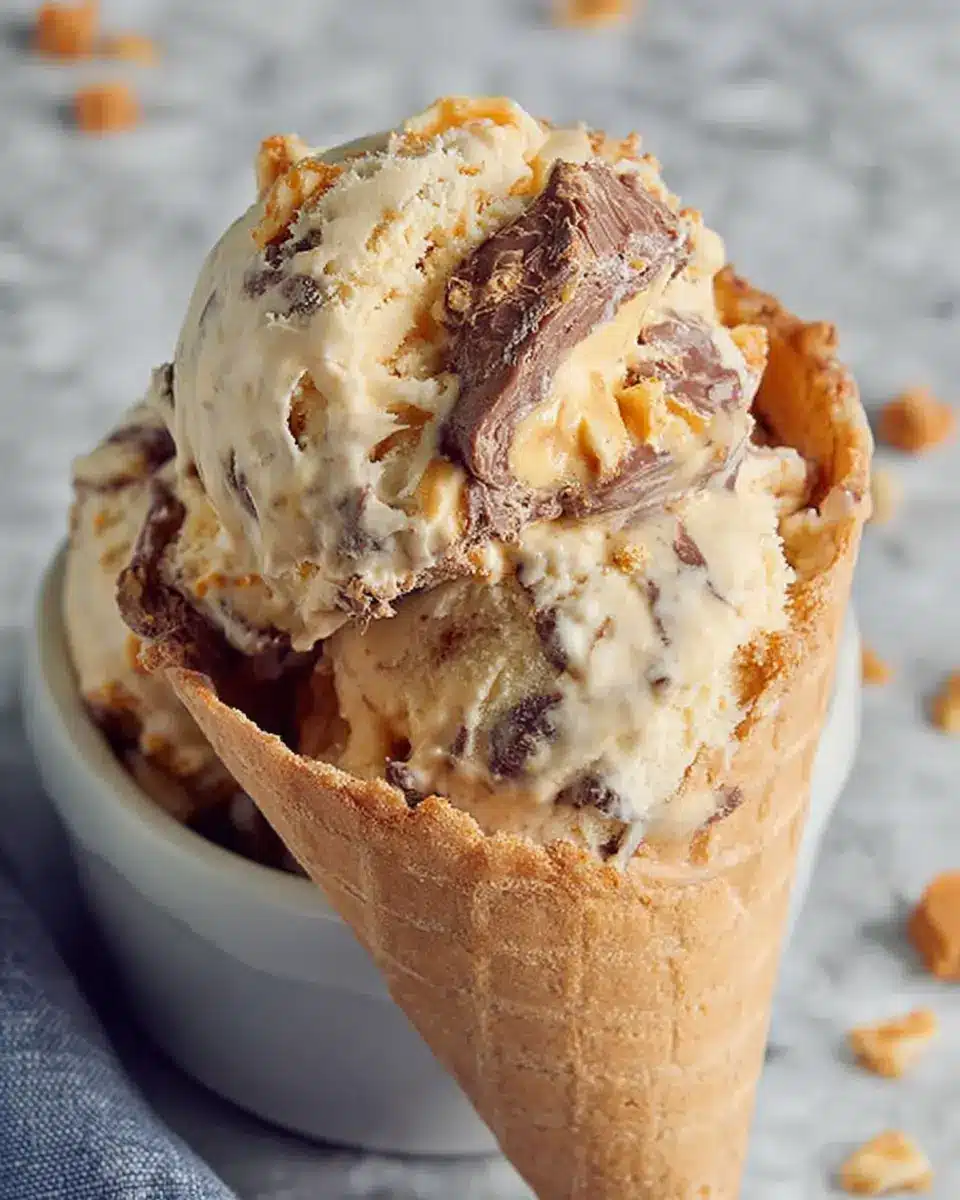
Serving Suggestions for Homemade Butterfinger Ice Cream
When you whip up a batch of homemade Butterfinger ice cream, the fun doesn’t stop at just scooping it into bowls. Here are some delightful serving suggestions to elevate your ice cream experience:
-
Tasty Toppings: Drizzle warm chocolate or caramel sauce over your ice cream, sprinkle some crushed Butterfinger pieces on top for extra crunch, or even add whipped cream for that classic sundae feel.
-
Sandwich It: Try making ice cream sandwiches using chocolate chip cookies or, for a fun twist, graham crackers. The contrast between the crunchy outer layer and the creamy inside will wow your taste buds!
-
Mix It Up: Consider blending your homemade Butterfinger ice cream into milkshakes or smoothies for a decadent treat perfect for hot days.
-
Pair It Right: Serve your ice cream alongside fresh fruits like strawberries or bananas, which can provide a lovely balance to the sweetness.
With these fun ideas, your homemade Butterfinger ice cream can be the star of any dessert table! For further inspiration, check out these creative ice cream serving ideas. Happy scooping!
Time details for Homemade Butterfinger Ice Cream
Preparation time
Gather your ingredients and mix them together in just 15 minutes! That’s right—whipping up this delicious homemade Butterfinger ice cream is surprisingly quick and easy.
Freezing time
After mixing, pop it into your ice cream maker. The freezing process typically takes around 30 minutes, giving you perfect soft-serve consistency.
Total time
In just about 45 minutes from start to finish, you’ll have a creamy, decadent treat ready to enjoy. Now that you know the timing, what are you waiting for? Dive into this delightful recipe and indulge in some sweet homemade goodness!
For more ice cream tips, check out The Ice Cream Revolution.
Nutritional Information for Homemade Butterfinger Ice Cream
When indulging in your delightful homemade Butterfinger ice cream, it's good to know what you're treating yourself to! Here's a quick breakdown of the key nutritional components:
Calories
Each serving of this creamy delight boasts approximately 300 calories. Its rich texture and flavor come from a blend of ingredients that pack in the taste!
Sugar
You’ll find around 24 grams of sugar per serving. This sweetness largely comes from the sweetened condensed milk and the crushed Butterfinger bars, adding to the overall enjoyment.
Fat Content
With about 18 grams of fat in each serving, this ice cream is undeniably indulgent. The whipping cream contributes to its luscious creaminess, making every scoop a moment to savor.
For more healthy eating tips, you might want to check out resources from the American Heart Association or explore different dessert options on EatingWell.
FAQs about Homemade Butterfinger Ice Cream
Can I use a different candy in this recipe?
Absolutely! While Butterfinger candy bars give this ice cream its distinctive crunch and flavor, you can definitely experiment with other candies. Popular alternatives include crushed Oreos, Reese’s Peanut Butter Cups, or even Snickers. Just keep in mind that different candies may alter the sweetness and texture slightly.
How long does homemade ice cream last?
Homemade ice cream is best enjoyed fresh, but it can last in the freezer for about 2–3 weeks if stored in an airtight container. Just remember that freezing can affect its creamy texture, so try to consume it within that time frame for the best experience.
What if I don’t have an ice cream maker?
No ice cream maker? No problem! You can make homemade Butterfinger ice cream using a simple no-churn method. Combine all the ingredients in a large bowl, whisk until well mixed, and then pour it into a freezer-safe container. Stir it every 30 minutes for the first few hours to get that creamy texture. Check out this no-churn ice cream guide for more tips!
Conclusion on Homemade Butterfinger Ice Cream
In summary, making your own homemade Butterfinger ice cream is a delightful experience that brings joy to both the kitchen and your taste buds. This simple recipe creates a rich, creamy dessert that’s perfect for gatherings or a cozy night in. Enjoy scooping up this treat all summer long!
Homemade Butterfinger Ice Cream
Equipment
- 4 quart ice cream maker
Ingredients
- 2 cups whipping cream
- 1 can (12 oz) evaporated milk
- 1 can (14 oz) sweetened condensed milk
- 4 cups milk
- 1 small pkg. instant vanilla pudding
- ¾ cup sugar
- 2 teaspoons vanilla
- 6 (1.9 oz) Butterfinger candy bars crushed
Instructions
- Combine all ingredients into the ice cream canister of a 4 quart ice cream maker, mix well.
- Freeze in ice cream freezer according to manufacturer’s directions.

Leave a Reply