
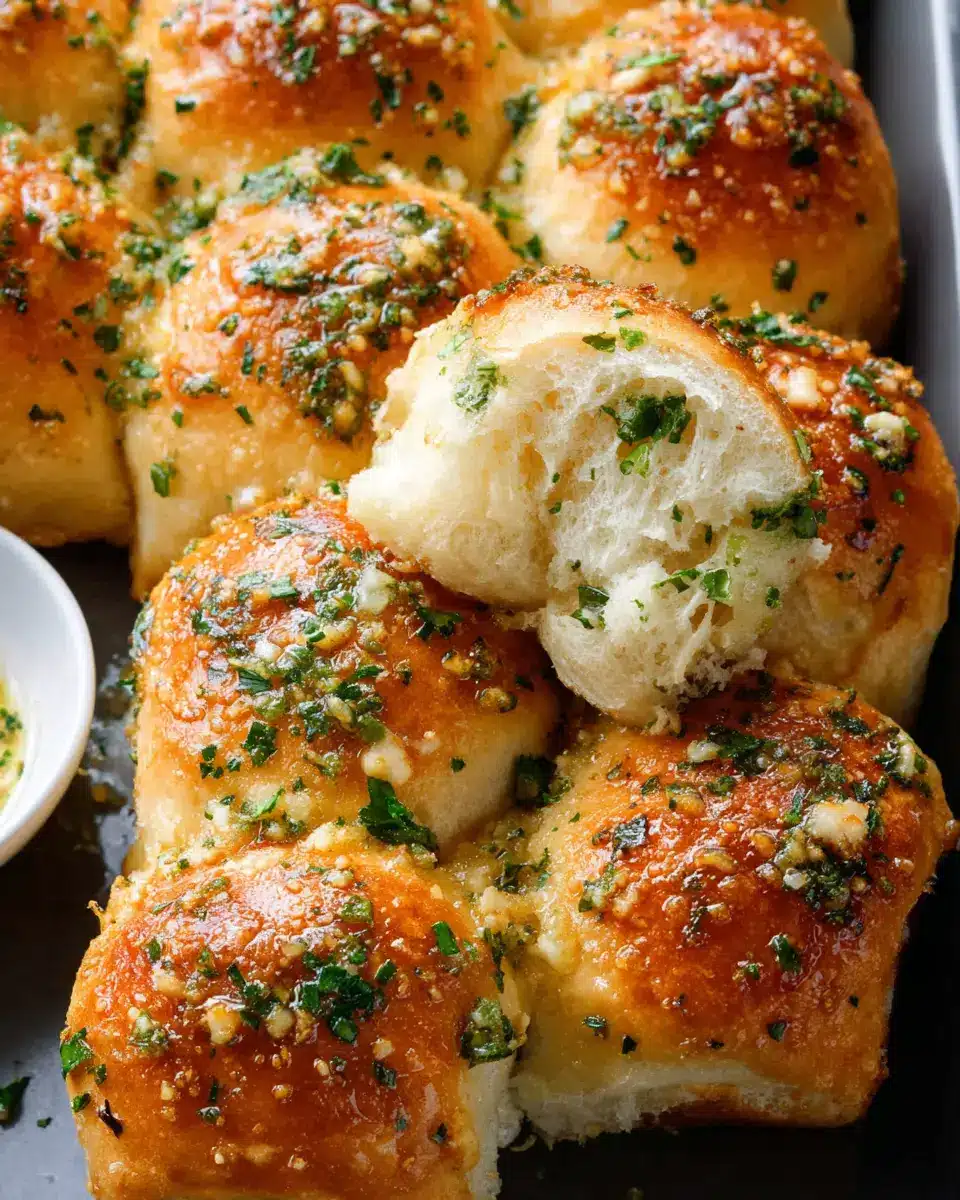
Introduction to Garlic Bread Rolls
Garlic bread rolls are not just a side dish; they’re a culinary experience that can elevate any meal, especially for busy young professionals. After a long day at work, coming home to the alluring aroma of freshly baked garlic bread rolls can be both comforting and satisfying. Plus, making them at home is surprisingly simple and rewarding.
Why Homemade Garlic Bread Rolls are a Game Changer for Young Professionals?
In today’s fast-paced world, convenience is key, yet many of us crave that homemade touch. By whipping up a batch of garlic bread rolls, you’re not only saving money over store-bought versions but you’re also controlling the ingredients. This can be especially important if you’re looking to eat healthier or accommodate dietary preferences.
Imagine inviting friends over for dinner and presenting a warm basket of these rolls. You’ll impress them with your baking skills while enjoying the simple pleasure of a comforting dish. Not to mention, preparing them can be a great way to unwind; kneading dough is surprisingly therapeutic!
Moreover, a batch of garlic bread rolls can easily be adapted to suit any meal, from casual weeknight dinners to festive occasions. So grab your apron, and let's dive into the delicious world of garlic bread rolls—your taste buds will thank you! For more insights on baking basics, you can check King Arthur Baking.

Ingredients for Garlic Bread Rolls
Creating the perfect garlic bread rolls starts with a handful of essential ingredients that come together to deliver that irresistible, buttery goodness. Here’s what you’ll need:
Key Ingredients You’ll Need
- Unsalted Butter: This is your primary fat for flavor. You’ll need a total of 6 ½ tablespoons for both the dough and garlic butter.
- Minced Garlic: A key flavor component that infuses the rolls with that delightful garlicky punch—2 tablespoons for the dough and an additional tablespoon for the garlic butter.
- All-Purpose Flour: About 3 ½ cups plus 1 tablespoon is required—this gives structure to your rolls. For detailed measuring tips, check out this guide on proper flour measurement from King Arthur.
- Milk: Ensuring the milk is warmed to 110°F helps activate the yeast, leading to a perfect rise.
- Instant Yeast: Essential for that fluffy texture—2 ¼ teaspoons will do the trick.
- Salt & Sugar: Enhancing flavor and aiding in yeast activation, you’ll need 1 teaspoon of fine sea salt and 1 tablespoon of granulated sugar.
Optional Add-ins for Flavor Enhancement
Feel free to get creative! Consider adding:
- Fresh Herbs: Beyond parsley, thyme or oregano can elevate the flavor profile.
- Cheese: Mozzarella or Parmesan sprinkled in or on top can turn these rolls into cheesy garlic goodness.
- Spices: A pinch of red pepper flakes for a kick or Italian seasoning for a Mediterranean twist can add depth.
With these ingredients, you’re set to make garlic bread rolls that will impress friends and family alike. Happy baking!
Step-by-Step Preparation of Garlic Bread Rolls
Making garlic bread rolls from scratch can feel intimidating, but it's simpler than you think! Follow these steps, and you'll create irresistible rolls that are perfect for gatherings or cozy dinners. Let’s get started!
Gather Your Ingredients and Tools
Start by assembling everything you need for the garlic bread rolls. This will help streamline the process, making your baking experience more enjoyable. Here’s what you’ll need:
- All-purpose flour
- Unsalted butter
- Minced garlic
- Fresh parsley
- Granulated sugar
- Instant yeast
- Fine sea salt
- Milk (warmed)
- Eggs
Also, grab some essential tools: a stand mixer with a dough hook, a 9×13 baking pan, measuring cups, and spoons. Having everything at hand lets you dive into baking without having to pause and search for something!
Prepare the Garlic Butter Mixture
The heart of your garlic bread rolls lies in the garlic butter. In a small pot, melt 4 ½ tablespoons of unsalted butter and add in 2 tablespoons of minced garlic. Cook it just until the garlic is fragrant—around 1 to 2 minutes will do. Set it aside to cool, and trust me, your kitchen will start to smell wonderful!
Combine and Knead the Dough
In your stand mixer, combine 3 ½ cups of all-purpose flour, 3 tablespoons of chopped parsley, 1 tablespoon of sugar, 2 ¼ teaspoons of instant yeast, and 1 teaspoon of fine sea salt. Then, add the warmed milk, a room temperature egg, and your cooled garlic butter. Mix it all together on low speed until a smooth, soft, and slightly tacky dough forms.
Kneading typically takes about 10-12 minutes. If your dough feels too sticky, just sprinkle in a tablespoon of flour until you reach the right consistency.
Shape the Rolls and Let Them Rise
Now, cut the dough into 12 equal pieces—aim for about 67 grams each for consistency. Shape each piece into a smooth ball, pinching the seam underneath. Place them into your prepared baking pan. Cover them with plastic wrap or a clean kitchen towel and let them rise in a warm spot until doubled in size, which usually takes 1 to 2 hours. This is when the magic happens!
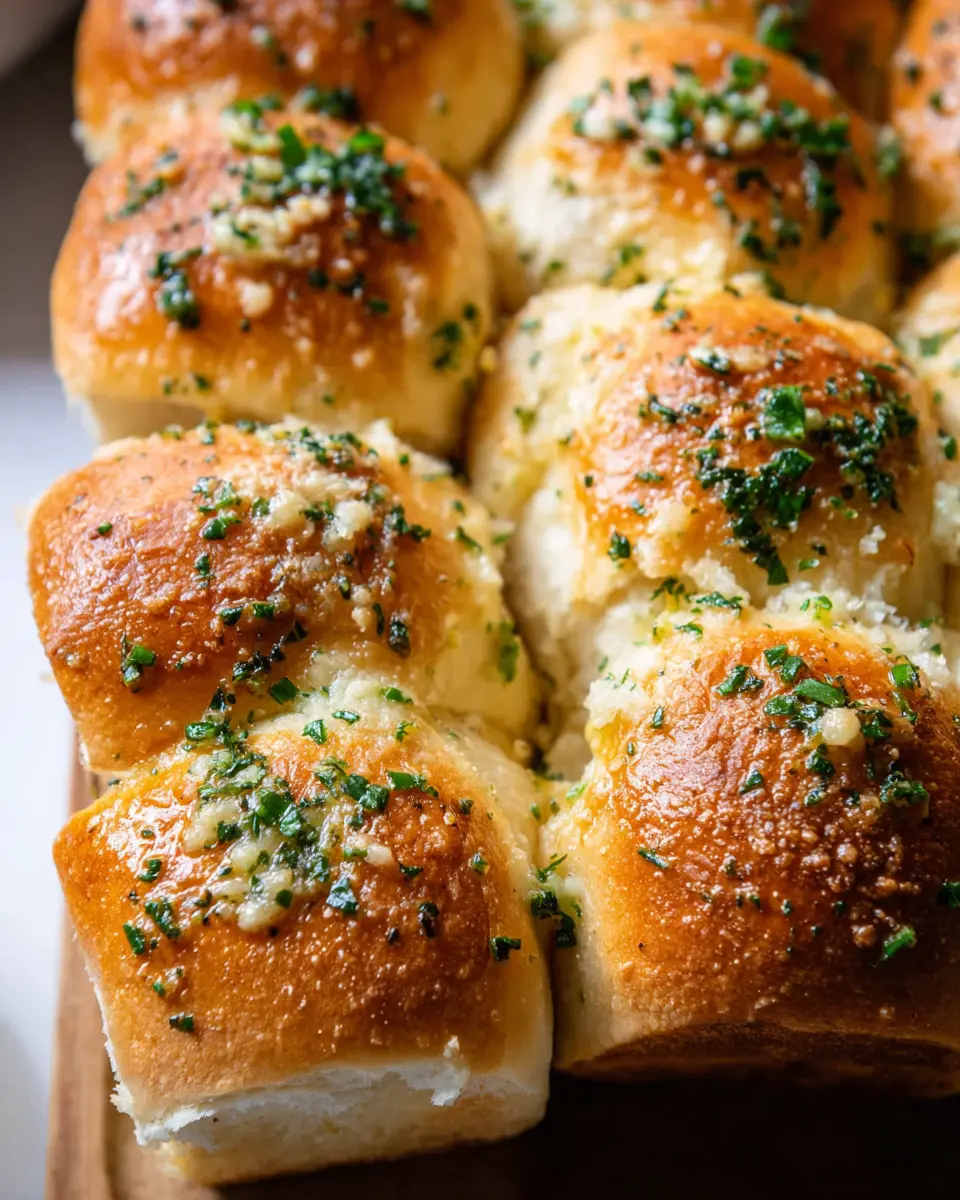
Bake to Perfection
Once they’ve risen, preheat your oven to 350°F (180°C). Brush the tops of your rolls with a beaten egg for that golden sheen. Bake in the oven for 20-30 minutes, until they’re beautifully golden brown.
While they bake, whip up the remaining garlic butter using 2 tablespoons of melted butter, 1 tablespoon of minced garlic, and 1 tablespoon of parsley. As soon as your rolls come out of the oven, brush them generously with this fragrant mixture and sprinkle with flaky sea salt. Trust me, it's the finishing touch that makes these garlic bread rolls unforgettable!
Now you're all set to enjoy your homemade rolls warm out of the oven! Don’t forget to share your experience and spread the love with others who might want to give this recipe a try. Happy baking!
Variations on Garlic Bread Rolls
Cheesy Garlic Bread Rolls
For a scrumptious twist on classic garlic bread rolls, try adding cheese! Whether you prefer mozzarella, cheddar, or even a spicy pepper jack, simply stuff each dough ball with a generous cube of cheese before shaping it into a roll. The melty goodness adds an irresistible flavor that pairs perfectly with your favorite pasta dish or salad. You can also sprinkle some shredded cheese on top before baking for an extra layer of flavor!
Herb-Infused Garlic Rolls
Elevate your garlic rolls by infusing them with fresh herbs! Think rosemary, thyme, or basil—mix these into the dough as you combine the dry ingredients. Not only does this give a delightful aroma, but it also adds depth to the flavor profile. Serve your herb-infused garlic bread rolls with a creamy dip or alongside a hearty soup for a comforting meal. Fresh herbs can provide numerous health benefits, including anti-inflammatory properties, making this variation as wholesome as it is delicious!
Looking for more inspiration? Check out Fine Cooking for fabulous garlic bread recipes!
Cooking Tips and Notes for Garlic Bread Rolls
Perfecting the Dough Consistency
Getting the right dough consistency for your garlic bread rolls is crucial! The dough should be soft and slightly tacky, but not overly sticky. If it clings to your fingers, add a tablespoon of flour at a time until it feels just right. For best results, consider using a kitchen scale to measure flour accurately—this can make all the difference!
Ensuring Even Cooking and Browning
To achieve beautifully golden-brown rolls, ensure they are spaced evenly in the pan to allow for proper airflow. Remember to brush the tops with beaten egg wash before baking—this adds a lovely sheen. Keep an eye on them while baking; if the tops are browning too quickly, cover them loosely with foil to prevent burning. Enjoy your warm garlic bread rolls!
Serving Suggestions for Garlic Bread Rolls
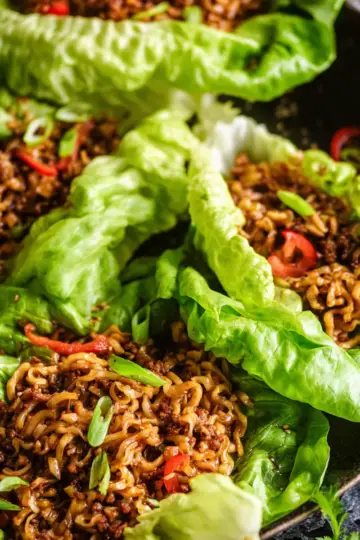
Pairing with Soups and Salads
Garlic bread rolls are a delightful accompaniment to your favorite soups and salads. Picture a warm bowl of tomato basil soup or a creamy chicken soup—dipping one of these rolls into the broth takes the flavor to another level. For salads, try serving them alongside a zesty Caesar or a fresh garden salad. The buttery garlic flavor complements the crisp vegetables beautifully, making your meal more satisfying. Don't forget to try pairings with hearty stews or a rich minestrone for a comforting dinner.
Creative Ways to Enjoy Leftovers
If you find yourself with leftover garlic bread rolls, don’t let them go to waste! You can enjoy them in creative ways:
- Breakfast Boost: Slice them in half, toast lightly, and slather with avocado or cream cheese for a quick breakfast.
- Garlic Croutons: Cube the rolls, toss with olive oil and herbs, then bake until crunchy for a homemade crouton to top salads.
- Experimental Sliders: Slice the rolls and fill them with turkey bacon or chicken ham and your favorite toppings for a scrumptious slider treat.
Each of these ideas transforms your leftover rolls into something new and exciting, reducing food waste and enhancing your meals. Feel free to share your inventive uses on social media or in the comment section!
Time Breakdown for Garlic Bread Rolls
Preparation Time
Getting your garlic bread rolls started takes about 15-20 minutes. From measuring out your ingredients to mixing and kneading the dough, this is the perfect time to get your kitchen filled with delicious aromas.
Rising Time
Patience is key here! Let your dough rise for 1-2 hours until it doubles in size. This step is crucial for achieving that light and fluffy texture that makes garlic bread rolls irresistible.
Baking Time
Once your rolls are ready for the oven, bake them for 20-30 minutes at 350°F (180°C). The goal is to achieve a golden-brown crust while ensuring the inside remains soft and tender.
These steps may take some time, but trust me, the results are worth every second! You’ll have warm, buttery garlic bread rolls that will impress everyone at your table. If you need tips or tricks along the way, check out my baking guide for more insights.
Nutritional Facts for Garlic Bread Rolls
Calories per Roll
Each garlic bread roll contains approximately 150 calories, making it a delightful yet indulgent treat to enjoy alongside your meals. These rolls are ideal for satisfying your cravings without overloading on calories.
Key Nutrients Like Protein and Fiber
These delectable rolls provide essential nutrients, with around 4 grams of protein and 1 gram of fiber per roll. While they aren’t major sources of fiber, incorporating them into a balanced meal can enhance your overall nutrient intake. For more nutritional insights, visit the USDA FoodData Central for comprehensive data on the ingredients used in these rolls.
Enjoy these delicious garlic bread rolls responsibly as part of your dietary choices!
FAQs about Garlic Bread Rolls
Can I Make These Rolls Ahead of Time?
Absolutely! You can shape your garlic bread rolls and place them in a baking pan. Cover them tightly with plastic wrap and refrigerate overnight. The next day, simply let them sit at room temperature until they’ve doubled in size before baking. This is a perfect solution for busy schedules!
What Can I Substitute If I Don’t Have Fresh Herbs?
If you're out of fresh herbs, don’t fret! Dried herbs can be a great alternative. Consider using 1 teaspoon of dried parsley for every tablespoon of fresh. For a different flavor twist, you can even use Italian seasoning or garlic powder to maintain that delicious taste you're aiming for.
How Do I Reheat Leftover Garlic Bread Rolls?
Reheating your leftover garlic bread rolls is simple. Cover them with foil and place them in a preheated oven at 350°F until warmed through. Alternatively, for a quick fix, pop them in the microwave for 20-30 seconds. Trust me, there's nothing quite like that aroma of freshly warmed garlic bread!
Conclusion on Garlic Bread Rolls
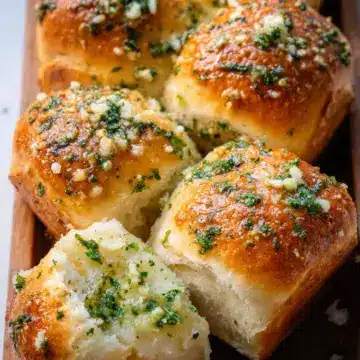
Garlic bread rolls are a delightful addition to any meal, bringing warmth and flavor to the table. Perfect for gatherings or a cozy night in, these rolls are both simple to make and absolutely irresistible. Enjoy them fresh, warm, and shared with loved ones. Happy baking!
For more delicious bread recipes, check out King Arthur Baking for inspiration!
Garlic Bread Rolls
Equipment
- mixing bowl
- 9x13 pan
- Pot
- dough hook
- Kitchen Scale
Ingredients
Dough Ingredients
- 4.5 tablespoons unsalted butter
- 2 tablespoons minced garlic
- 3.5 cups all-purpose flour Plus 1 tablespoon for measuring
- 3 tablespoons chopped fresh parsley
- 1 tablespoon granulated sugar
- 2.25 teaspoons instant yeast
- 1 teaspoon fine sea salt
- 1 cup whole or 2% milk Warmed to 110°F
- 1 large egg Room temperature
- 1 beaten egg For brushing the tops
Garlic Butter
- 2 tablespoons unsalted butter
- 1 tablespoon minced garlic
- 1 tablespoon chopped fresh parsley
- flaky sea salt For finishing
Instructions
Preparation
- Lightly butter the bottom and sides of a 9×13 pan and set it aside.
- In a small pot, melt the butter and add the minced garlic. Cook for 1-2 minutes or until fragrant. Remove from heat and cool.
- In a stand mixing bowl, combine flour, parsley, sugar, yeast, and salt. Add warmed milk, egg, and garlic butter. Knead on low speed until smooth and tacky, about 10-12 minutes.
- Cut the kneaded dough into 12 equal portions. Shape each into a ball and place in the prepared pan. Cover and let rise until doubled in size, about 1-2 hours.
- Preheat the oven to 350°F (180°C).
- Brush tops of the rolls with beaten egg wash. Bake for 20-30 minutes until golden brown.
- While the rolls are baking, prepare garlic butter. Melt butter in a pot, add minced garlic, cook for 1-2 minutes. Stir in parsley. Brush over warm rolls.


Leave a Reply