
Introduction to Spiderweb Cheesecake
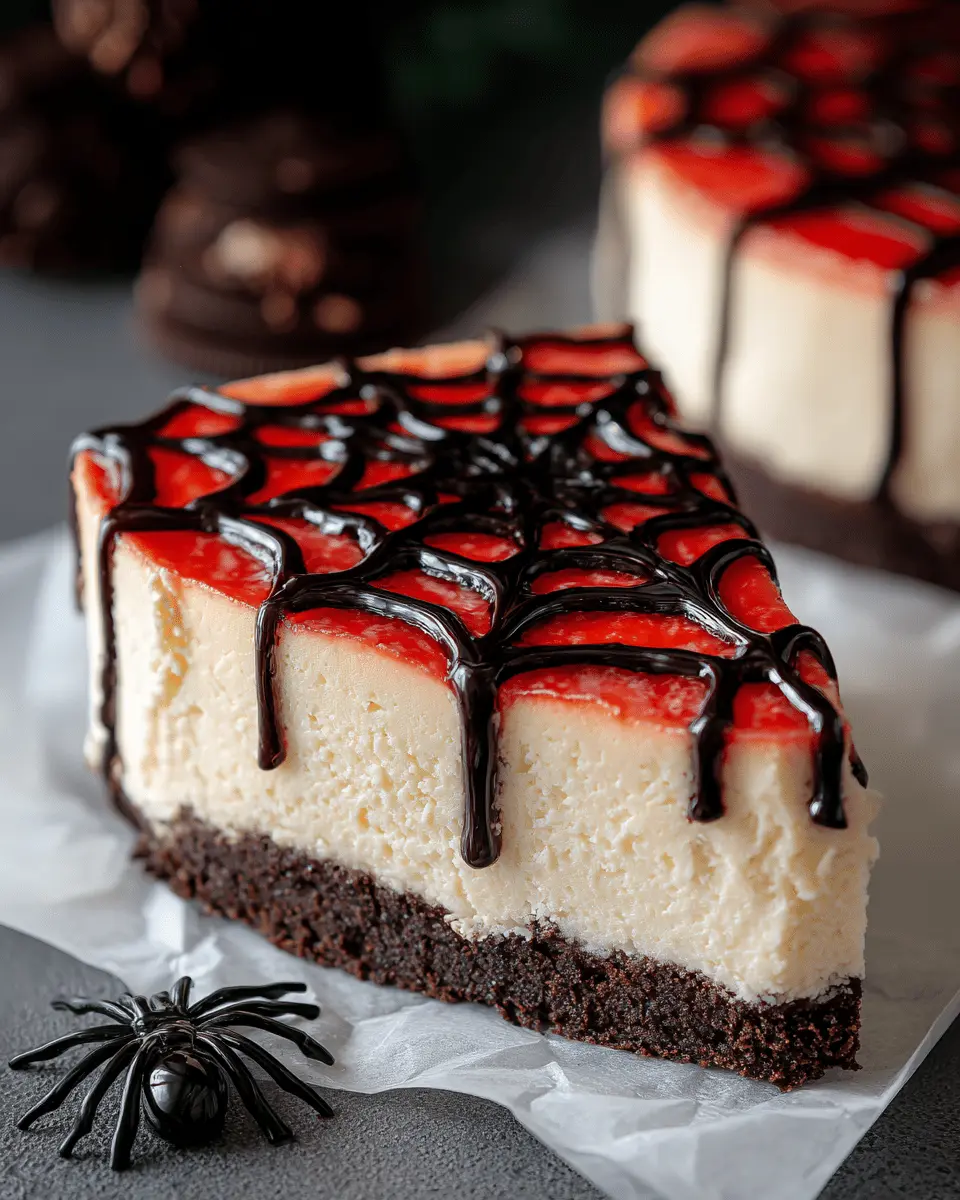
When you think about a show-stopping dessert that impresses yet is surprisingly easy to make, look no further than spiderweb cheesecake. This delightful treat is not only a feast for the eyes with its striking design but also offers a rich, creamy flavor that every cheesecake lover will adore. Why is this the perfect homemade treat for young professionals like you?
Why Spiderweb Cheesecake is the Perfect Homemade Treat for Young Professionals
In today's fast-paced world, finding time to unwind and indulge in a little culinary creativity can feel like a luxury. Spiderweb cheesecake allows you to combine relaxation with a dash of artistic flair without requiring hours of effort. Its simple ingredients make it accessible, even if you're not a seasoned baker.
Did you know that engaging in cooking can reduce stress? According to researchers, cooking can be therapeutic, offering a creative outlet that provides a break from daily routines. Imagine unwinding after a long workday, immersing yourself in the delightful process of mixing up creamy fillings and artfully piping that spiderweb design—all while treating your friends and colleagues to a delicious masterpiece.
So, roll up your sleeves, gather your ingredients, and get ready to whip up a spiderweb cheesecake that will enchant everyone around you. You’ll find the recipe below, along with step-by-step instructions that make this a fun and fulfilling project. Happy baking!
Ingredients for Spiderweb Cheesecake
When crafting a delightful Spiderweb Cheesecake, gathering your ingredients is the first step to creating this spooky yet scrumptious dessert. Here’s what you’ll need:
- 2 cups chocolate cookie crumbs: Chocolate adds that rich flavor that pairs beautifully with cream cheese.
- ¼ cup melted butter: This will help bind your crust together, making it both delicious and crunchy.
- 24 oz cream cheese, softened: The star of the show! Softening it ensures a creamy texture.
- 1 cup sugar: Sweetness is essential to balance the tanginess of the cream cheese.
- 3 large eggs: These will enhance the cheesecake's structure and creaminess.
- 1 teaspoon vanilla extract: A splash of vanilla enhances the overall flavor profile.
- ¼ cup sour cream: For that extra creamy texture and depth of flavor.
- ½ cup dark chocolate chips, melted: Perfect for creating our spiderweb design on top!
With these ingredients, you’ll be on your way to impressing your friends and family with a spiderweb cheesecake that's both visually striking and delicious! For tips on choosing the best chocolate cookies for the crust, you can check out this guide. Don't underestimate the importance of quality ingredients!
Step-by-step Preparation of Spiderweb Cheesecake
Set the Stage: Preheat and Pan Prep
Before diving into the delicious world of spiderweb cheesecake, let's start by setting the stage. Preheat your oven to 325°F (160°C) and grab a 9-inch springform pan. The springform design is essential, as it allows for an easy release once the cheesecake is baked and chilled. To prevent sticking, lightly grease the inner surface with butter or cooking spray. This little detail makes a huge difference when it’s time to unveil your masterpiece!
Crafting the Chocolate Cookie Crust
Next, let’s whip up that irresistible chocolate cookie crust. In a mixing bowl, combine 2 cups of chocolate cookie crumbs with ¼ cup of melted butter. This rich, chocolatey foundation brings both texture and flavor to your cheesecake. The trick? Mix until the crumbs are evenly moistened and press the mixture firmly into the bottom of your prepared springform pan. This not only holds the cheesecake together but also gives it that delicious crunch with every bite.
Mixing the Creamy Cheesecake Batter
Now comes the fun part—creating the creamy cheesecake batter. In a large bowl, combine 24 oz of softened cream cheese with 1 cup of sugar. Using a hand mixer, beat until the mixture is smooth and creamy. Next, add in 3 large eggs, one at a time, mixing well after each addition. This step is crucial for achieving that light, airy texture. Enhance the flavor by adding 1 teaspoon of vanilla extract and ¼ cup of sour cream. Finally, fold in ½ cup of melted dark chocolate chips for that extra touch of decadence.
Bake to Perfection
With your crust ready and batter mixed, it’s time to pour the creamy goodness over the crust. Use a spatula to smooth the top, ensuring an even bake. Place the pan in your preheated oven and bake for 45-50 minutes. You’ll know it’s done when the edges set but the center remains slightly jiggly. This slight jiggle will firm up as it cools.
The Chill Factor
Patience is key! Once your cheesecake is baked, let it cool completely on a wire rack. Then, cover it and chill in the refrigerator for at least 4 hours (or overnight for optimal flavor). Cheesecakes often taste better after a good chill, allowing all the flavors to meld beautifully.
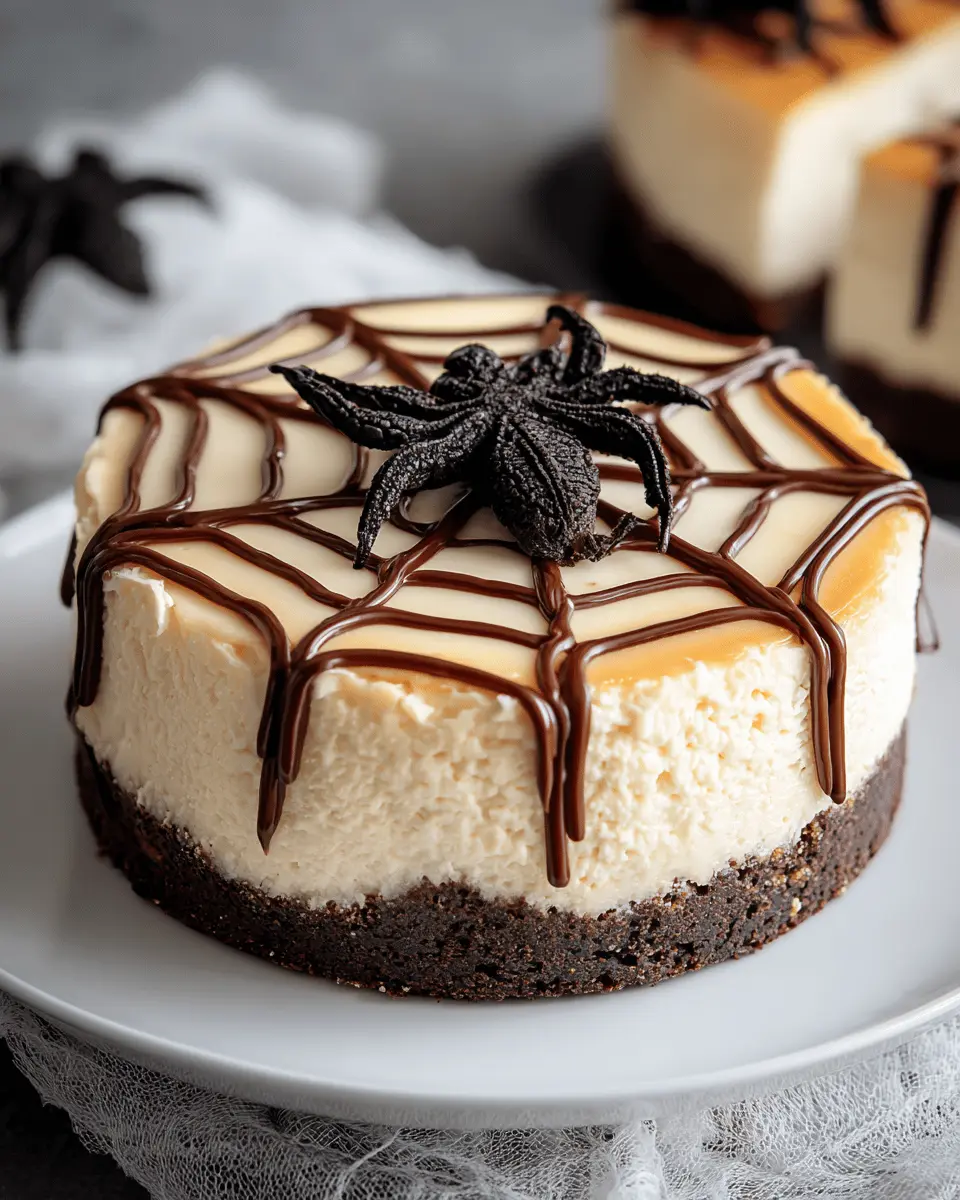
Add a Spooky Touch with the Spiderweb Design
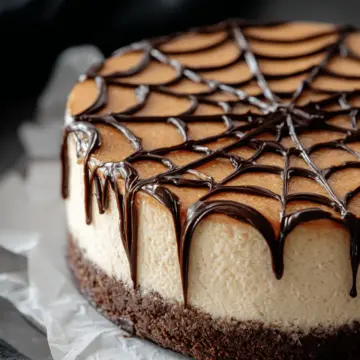
Finally, let’s turn your cheesecake into a showstopper! After it’s chilled, melt some dark chocolate and pour it into a piping bag. Decorate the top of your cheesecake with a spiderweb design—start from the center and work your way outward. Use a toothpick to drag lines from the center to create that perfect web effect.
And there you have it! A spiderweb cheesecake that's as visually stunning as it is delicious. Serve this at your next gathering for a delightful surprise!
For more creative dessert ideas, check out Serious Eats or Food Network.
Variations on Spiderweb Cheesecake
Pumpkin Spiderweb Cheesecake
For a seasonal twist, try pumpkin spiderweb cheesecake! Simply incorporate 1 cup of pure pumpkin puree and 1 teaspoon of pumpkin pie spice into your basic cheesecake mixture. This variation adds a creamy texture and a delightful autumnal flavor that will have everyone raving. It's a perfect dessert for Halloween parties or Thanksgiving gatherings.
Gluten-Free Spiderweb Cheesecake
Embrace a gluten-free option by substituting the chocolate cookie crust with gluten-free cookie crumbs or almond flour. Combine the crumbs with melted butter just like the original recipe. Your gluten-free spiderweb cheesecake will still deliver the same rich taste without compromising on texture. Everyone can indulge, regardless of dietary preferences!
For additional tips on gluten-free baking, check out this helpful guide.
Cooking Tips and Notes for Spiderweb Cheesecake
Creating a spiderweb cheesecake can be both fun and rewarding. Here are some helpful tips to ensure your creation wows everyone!
-
Room Temperature Ingredients: Let your cream cheese and eggs sit out for about 30 minutes before starting. This lets them blend more smoothly into the batter, resulting in a creamier texture.
-
Avoid Cracks: Stick to the recommended baking time, but keep an eye on it! An overcooked cheesecake can lead to unsightly cracks. Check for a slight jiggle in the center—it’s key!
-
Spiderweb Design: Use a piping bag for more precision when creating your spiderweb design with dark chocolate. If you don't have one, a plastic bag with the corner cut off works just as well!
By following these simple tips, your spiderweb cheesecake will not only taste great but also impress your friends at the next gathering! For more baking advice, check this guide from Serious Eats.
Serving Suggestions for Spiderweb Cheesecake
When it comes to serving your spiderweb cheesecake, presentation is key! Here are some fun ideas to elevate your dessert experience:
-
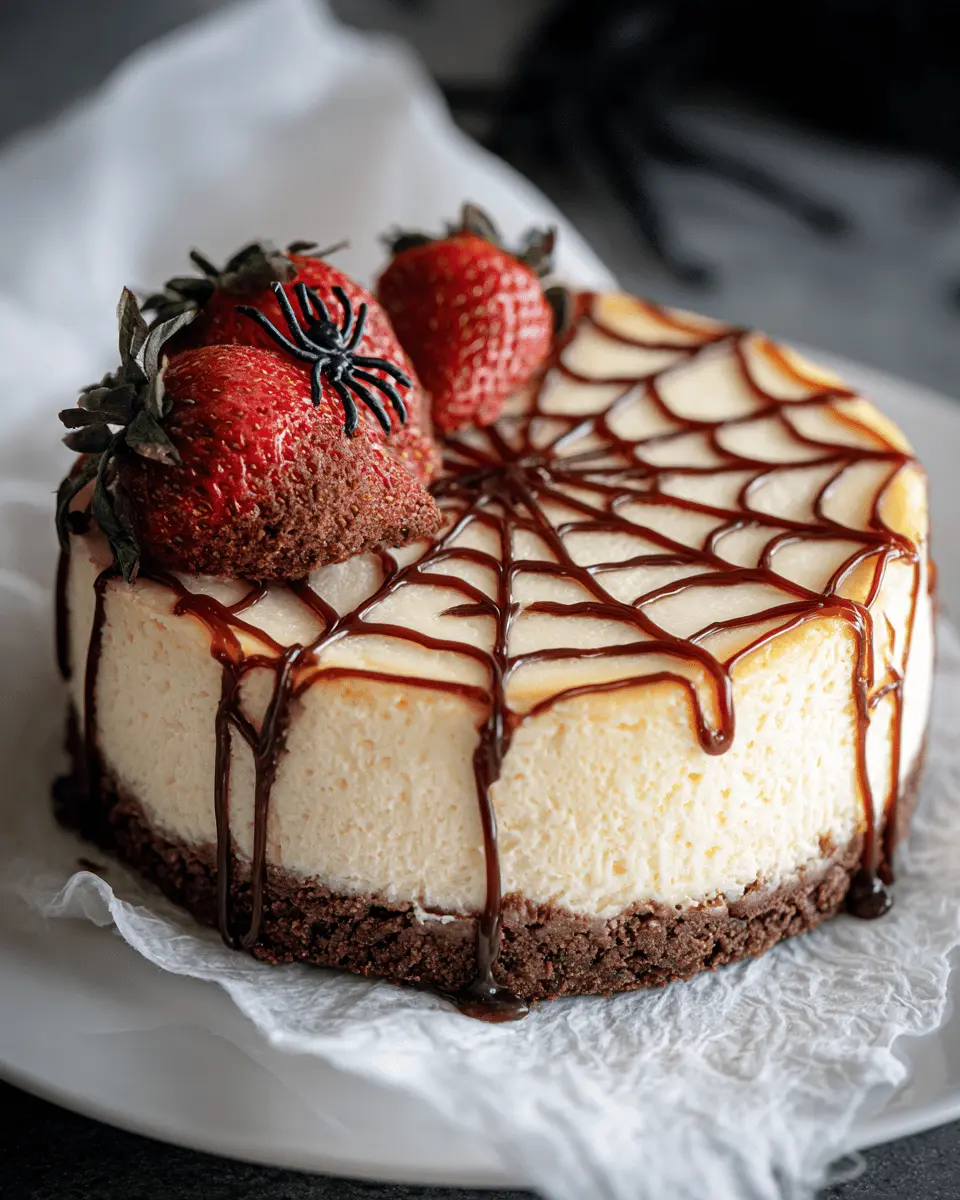
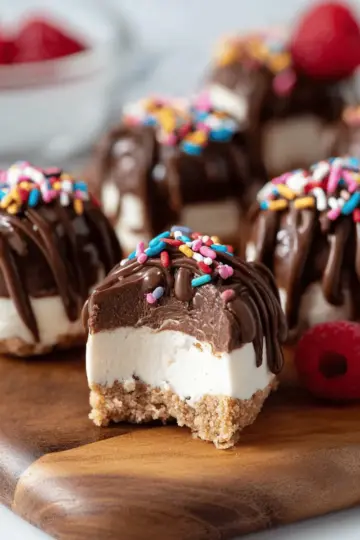
Pair with Fresh Berries: Add a side of delightful raspberries or strawberries. The tartness provides a lovely contrast to the rich cheesecake.
-
Garnish with Whipped Cream: A dollop of homemade whipped cream can make each slice feel festive.
-
Drizzle with Chocolate Sauce: For the chocolate lovers out there, consider drizzling extra melted chocolate over the slices for an indulgent touch.
-
Enjoy with a Hot Beverage: Coffee or herbal tea complements the creamy richness perfectly.
These serving suggestions will not only enhance your spiderweb cheesecake but also delight your guests. Happy baking!
Time Breakdown for Spiderweb Cheesecake
Understanding the time needed for your spiderweb cheesecake can ensure a smooth baking experience. Here’s a simple breakdown:
Preparation time
Get things started with about 20-30 minutes for gathering ingredients and prepping your crust and filling.
Baking time
The cheesecake needs 45-50 minutes in the oven, so plan for that time to ensure a perfect bake.
Cooling time
Once out of the oven, let it cool for at least 4 hours in the fridge to set properly—making it worthy of its spiderweb design!
Baking a cheesecake can be a delightfully rewarding experience, especially when you see the finished product! For additional tips on cheesecake variations and techniques, check out Cheesecake 101 or look into the benefits of using organic ingredients on your baking journey.
Nutritional Facts for Spiderweb Cheesecake
Calories per slice
A delightful slice of spiderweb cheesecake comes in at approximately 350 calories. That's not too bad for a dessert packed with rich flavors and creamy textures! While it's a treat, it’s perfect for special occasions.
Protein content
Each slice contains about 7 grams of protein, primarily from the cream cheese and eggs. This adds a little extra nutrition, making it a more balanced indulgence compared to many other desserts.
Sugar content
With around 28 grams of sugar per slice, it's definitely on the sweeter side. Consider serving this treat alongside fresh fruit or whipped cream to balance out the sweetness and create a more refreshing experience!
For more detailed nutritional information, consider resources like the USDA FoodData Central or consult a nutritionist for personalized advice about indulgent recipes. Enjoying a slice of spiderweb cheesecake can fit into a balanced diet, especially when you savor each bite!
FAQs about Spiderweb Cheesecake
Can I use a different crust for my cheesecake?
Absolutely! While the classic chocolate cookie crumb crust is delightful for spiderweb cheesecake, you can experiment with various options. Graham cracker crust offers a buttery flavor, or try a nut crust for added texture. Just ensure your crust is firm enough to hold the cheesecake filling.
What can I substitute for cream cheese?
If you’re looking for cream cheese alternatives due to dietary restrictions, options like ricotta cheese or vegan cream cheese work well. Silken tofu blended until smooth can also serve as a lower-fat substitute. These can still yield a creamy consistency ideal for your spiderweb cheesecake without compromising flavor.
How do I store leftover cheesecake?
To keep your cheesecake fresh, cover it tightly with plastic wrap or foil and store it in the fridge for up to five days. For longer shelf life, freeze individual slices wrapped securely in plastic, then in a freezer bag. Thaw overnight in the fridge for a delicious treat any time! For more tips on cheesecake storage, check out The Cheesecake Factory.
Conclusion on Spiderweb Cheesecake
Creating a spiderweb cheesecake can be a delightful adventure in your kitchen. This show-stopper combines creamy textures and rich flavors, making it perfect for any gathering. So grab your ingredients, channel your inner pastry chef, and wow your friends with this charming dessert! Happy baking!
If you enjoyed this recipe, consider checking out our article on dessert plating tips for a visual feast or explore easy cheesecake variations that will take your cheesecake game to another level.
Spiderweb Cheesecake: A Delightfully Easy Fall Treat to Impress
Equipment
- 9-inch springform pan
Ingredients
Crust
- 2 cups chocolate cookie crumbs
- ¼ cup melted butter
Filling
- 24 oz cream cheese, softened
- 1 cup sugar
- 3 large eggs
- 1 teaspoon vanilla extract
- ¼ cup sour cream
Topping
- ½ cup dark chocolate chips, melted
Instructions
Preparation
- Preheat the oven to 325°F (160°C). Grease a 9-inch springform pan.
- Combine the chocolate cookie crumbs and melted butter, then press the mixture into the bottom of the pan to form the crust.
- In a large bowl, beat the cream cheese and sugar until smooth. Add the eggs one at a time, followed by the vanilla extract and sour cream.
- Pour the cheesecake batter over the crust and smooth the top.
- Bake for 45-50 minutes until the edges are set and the center is slightly jiggly.
- Let the cheesecake cool completely, then refrigerate for at least 4 hours.
- Once chilled, use the melted dark chocolate to pipe a spiderweb design on top. Use a toothpick to drag lines outward for a web effect.
- Slice and serve this creepy yet delicious cheesecake!
Leave a Reply