
Introduction to Mini No-Bake Cheesecakes
Are you a young professional juggling a busy schedule? If so, you’re likely on the lookout for desserts that offer both convenience and satisfaction. Enter mini no-bake cheesecakes. These delightful treats pack all the creamy goodness of classic cheesecake into bite-sized portions, making them an ideal indulgence for those with on-the-go lifestyles.
The beauty of mini no-bake cheesecakes is their simplicity. With no oven required, they are perfect for those hot summer months or for anyone who wants to skip the hassle of baking. You can whip up a batch in under 30 minutes, and they require just a few basic ingredients! Plus, they’re super versatile; whether you prefer fruity toppings or chocolate drizzle, the combinations are nearly endless.
Additionally, these mini delights stay fresh in the fridge for days, allowing you to enjoy a sweet treat whenever the craving strikes. Studies show that having healthy dessert options can reduce stress and increase overall happiness, so why not treat yourself?
Are you ready to embrace effortless elegance in dessert form? Let’s dive into the recipe that will transform your dessert game with some mini no-bake cheesecakes!
Ingredients for Mini No-Bake Cheesecakes
Creating delightful mini no-bake cheesecakes at home is easier than you think! Let’s take a closer look at the key ingredients you'll need.
Essential ingredients for the graham cracker crust
The foundation of your cheesecakes lies in the crust. For a perfect graham cracker crust, gather:
- Graham cracker crumbs: About 2 cups (240g) from roughly 16 full sheet crackers will provide that classic flavor.
- Brown sugar: ⅓ cup (67g) packed enhances sweetness and adds depth.
- Unsalted butter: ½ cup (113g), melted, holds the crust together for that ideal texture.
If you need a little more guidance, check out detailed crust-making tips at Taste of Home.
Key ingredients for the cheesecake filling
The filling is where the magic happens! For a creamy, luscious texture, you’ll want:
- Heavy cream: 1 cup (240ml), whipped to stiff peaks for a light consistency.
- Cream cheese: 16 ounces (452g), softened, gives your filling that classic cheesecake taste.
- Granulated sugar: ⅓ cup (67g), balanced sweetness.
- Sour cream or plain yogurt: 2 tablespoons (30g) adds richness.
- Fresh lemon juice: 1 teaspoon brightens flavors.
- Pure vanilla extract: ½ teaspoon lends warmth to the blend.
These ingredients are not just for taste; they contribute to the overall texture and richness of your mini no-bake cheesecakes. For more insights on perfecting your cheesecake, head over to The Kitchn.
Armed with these simple yet essential ingredients, you're all set to whip up an impressive dessert that’s sure to impress friends and family!
Preparing Mini No-Bake Cheesecakes
Creating mini no-bake cheesecakes is not only a fun kitchen project, but also a delightful way to impress friends and family with your baking skills — without heating up your oven! Follow these simple steps to whip up some creamy, dreamy cheesecake cups that are sure to steal the show at any gathering.
Gather Your Tools and Equipment
Before diving into the deliciousness, let’s make sure you have everything you’ll need on hand:
- Muffin pans (two standard 12-count)
- Cupcake liners to line the muffin pans
- A food processor (or a rolling pin and zip-top bag to crush graham crackers)
- A mixing bowl
- Hand or stand mixer
- An optional piping bag with a large tip for easy filling
- A silicone spatula for mixing and folding
Having these tools ready will streamline your cheesecake-making process, making it a breeze. You can grab some of these essentials online through retailers like Amazon, linked in the recipe notes.
Prepare the Graham Cracker Crust
For the crust, start with your graham crackers. If they aren't pre-crumbled, simply pulse them in the food processor until they resemble fine crumbs. In a medium bowl, combine:
- 2 cups of graham cracker crumbs
- ⅓ cup of brown sugar
- ½ cup of melted unsalted butter
Mix until it resembles wet sand. Spoon 1 and ½ tablespoons of this mixture into each cupcake liner and use the back of the spoon to pack it down tightly – this forms a sturdy base for your cheesecakes.
Bake or Chill the Crust (Optional)
While not strictly necessary, I highly suggest baking the crusts in a preheated 350°F (177°C) oven for about 5 minutes. This step helps firm them up, making for a more stable cheesecake. However, if you want to skip this or don’t have an oven handy, just chill the crusts in the fridge for about 20-30 minutes instead. They’ll still turn out delightful!
Make the Creamy Cheesecake Filling
Once your crusts are ready, it’s time for the magic of the filling. Start by whipping 1 cup of cold heavy cream into stiff peaks using a mixer, which should take roughly 3 minutes. In a separate bowl, mix 16 ounces of softened cream cheese and ⅓ cup of granulated sugar until smooth. Then add in 2 tablespoons of sour cream, 1 teaspoon of lemon juice, and ½ teaspoon of vanilla extract, blending until combined.
Now, gently fold the whipped cream into your cream cheese mixture with a spatula. This step is crucial for achieving that light and airy texture that makes mini no-bake cheesecakes irresistible!
Assemble the Cheesecakes in Muffin Pans
Now comes the fun part! You can use either a spoon or a piping bag to transfer the cheesecake filling over the crusts. Aim for about 2 tablespoons of filling per liner. If you’re using a piping bag, it’ll make this step so much easier and neater. Smooth the tops gently with the back of a spoon if needed.
Refrigerate for the Perfect Texture
Finally, refrigerate your mini cheesecakes for at least 3 hours, or up to 2 days if you’re prepping ahead. This helps the filling set beautifully. Just remember to cover them with foil or plastic wrap if they’re in there for longer than a few hours! Serve them chilled, and watch as everyone enjoys these delightful little treats.
With these uncomplicated steps, you’ll create scrumptious mini no-bake cheesecakes that are perfect for any occasion. Happy baking!
Variations on Mini No-Bake Cheesecakes
Flavor Variations: Chocolate, Fruit-Infused, and More
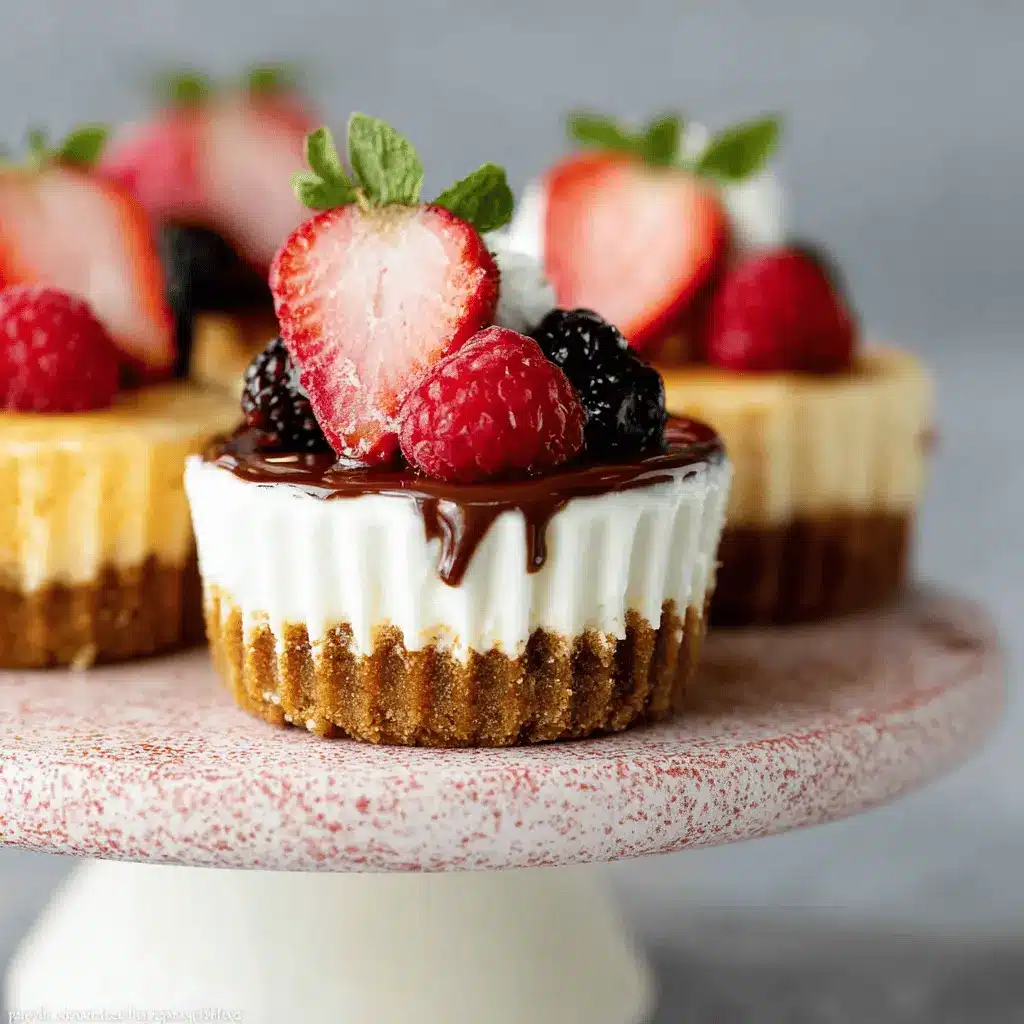
When it comes to mini no-bake cheesecakes, the flavor possibilities are endless! For a rich and decadent twist, try adding melted chocolate to your cream cheese mixture for a chocolate cheesecake version. Prefer fruity flavors? Infuse your filling with pureed strawberries, blueberries, or even mango for a refreshing taste. If you’re feeling adventurous, why not mix in some matcha for an earthy flavor? Each variation elevates these treat-sized desserts to new heights.
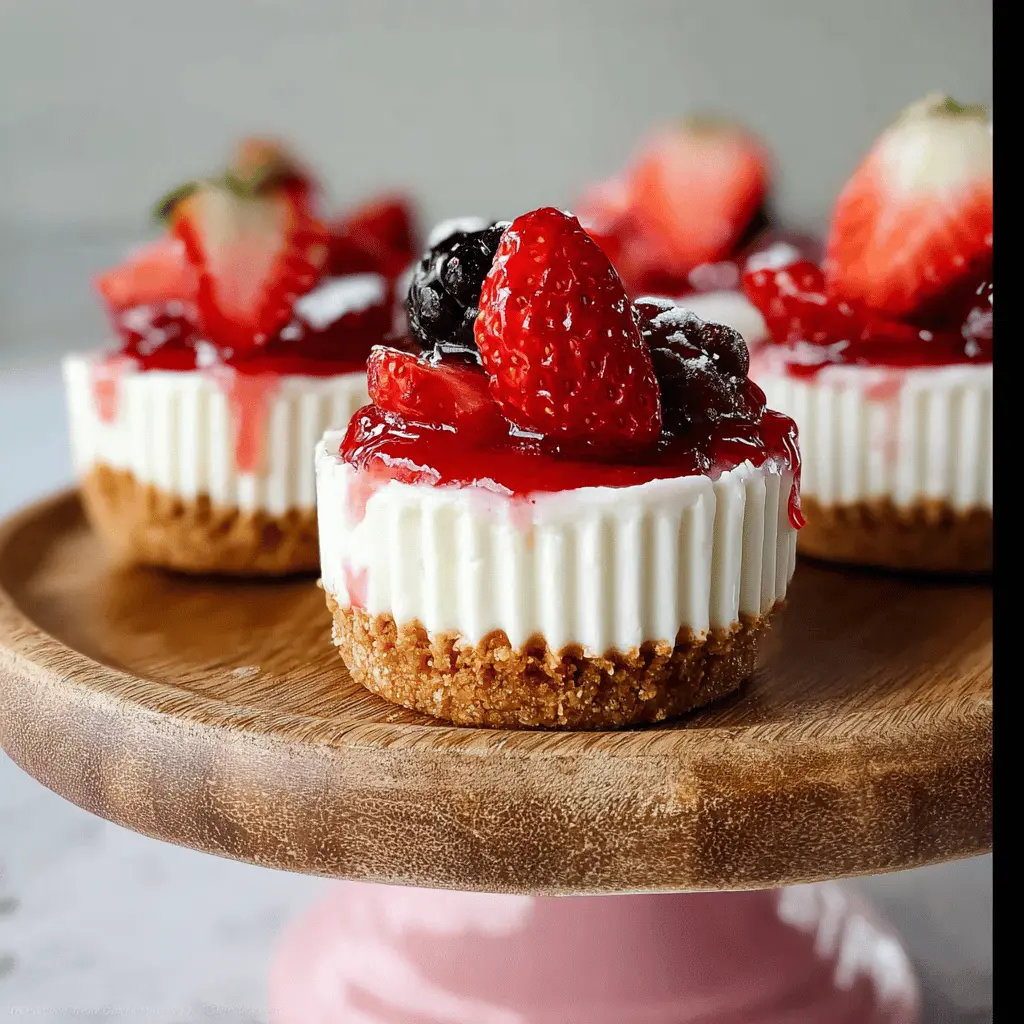
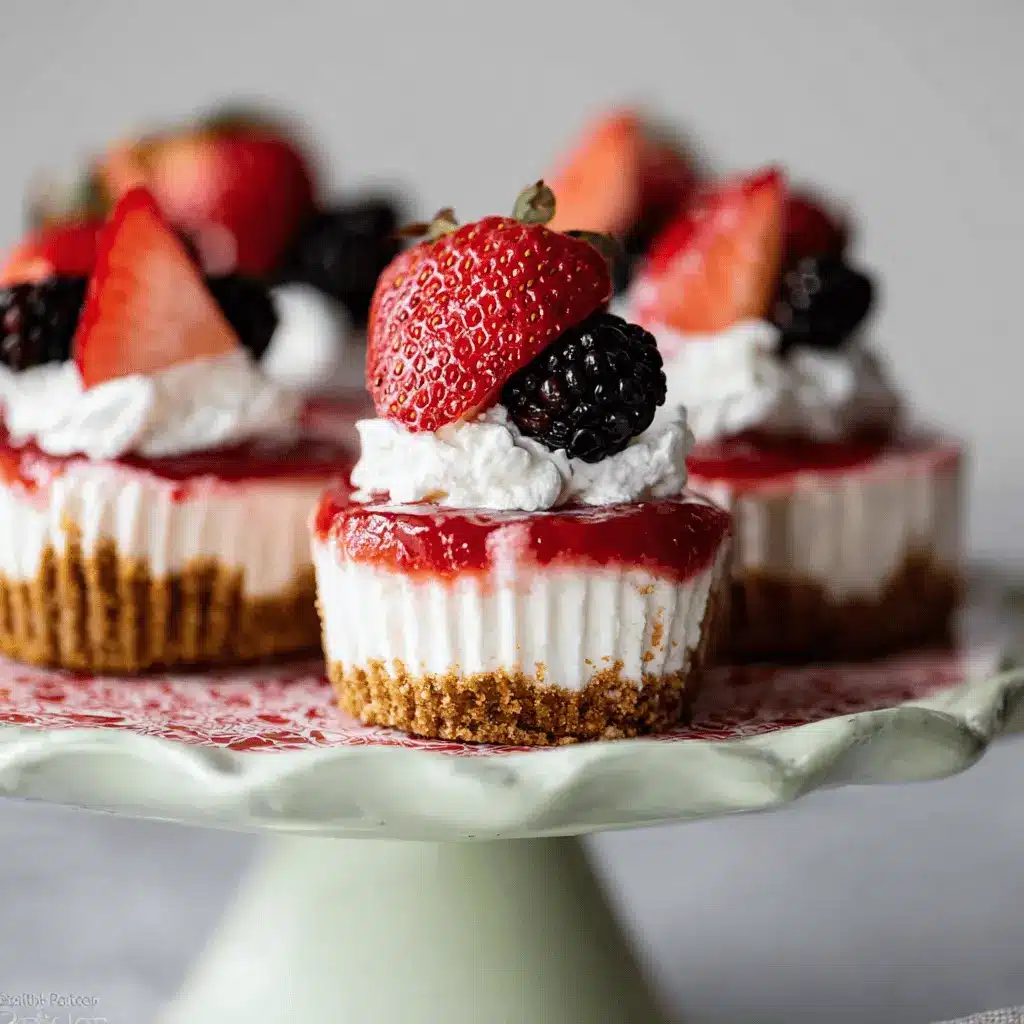
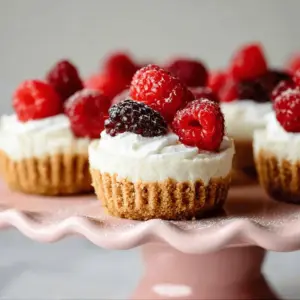
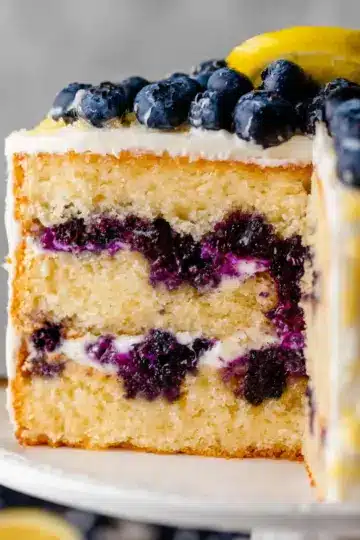
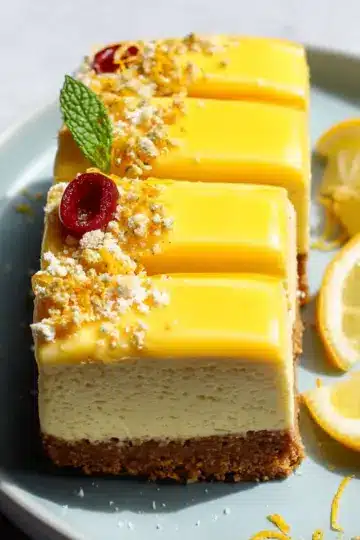
Customizing Toppings: Fresh Fruit, Sauces, and Ganache
The fun doesn’t stop at the filling! Toppings can transform your mini no-bake cheesecakes into stunning showstoppers. Fresh fruit is always a winner—think sliced strawberries or plump blueberries dotting the top. For a bit of flair, drizzle with homemade caramel sauce or a rich chocolate ganache. You could even try adding a dollop of whipped cream sprinkled with crushed nuts for that extra crunch. The best part? You tailor each cheesecake to your cravings or to match any occasion!
Cooking tips and notes for Mini No-Bake Cheesecakes
Tips for achieving a smooth cheesecake filling
To ensure your mini no-bake cheesecakes have a creamy and smooth filling, start with room temperature ingredients. Cold cream cheese can lead to lumps—nobody wants that! Beat your cream cheese and sugar together first, and make sure to scrape down the bowl for an even mix. Finally, when folding in the whipped cream, do so gently to maintain that airy texture we all love.
Advice on preparing ingredients ahead of time
Preparation is key! You can make the graham cracker crust a day in advance and keep it covered at room temperature. Similarly, bringing the cream cheese and sour cream to room temperature beforehand can save you time in the kitchen. The best part? You can assemble and chill those mini no-bake cheesecakes up to two days before serving. Perfect for special occasions! Want to get more organized? Check out this article on meal prepping for tips.
Serving suggestions for Mini No-Bake Cheesecakes
Creative ways to plate and present your cheesecakes
Elevate your mini no-bake cheesecakes with some fun plating techniques. Consider using small glass jars or dessert cups for an elegant touch. Layer your mini cheesecakes with assorted toppings, like fresh berries or a drizzle of chocolate sauce, and garnish with mint leaves for contrast. You could even create a colorful dessert tray, featuring different flavors, to entice your guests. Adding labels can further personalize each portion, making your gathering feel extra special.
Drink pairings to complement the dessert
When it comes to drinks, think refreshing! A chilled sparkling lemonade or fruity iced tea pairs beautifully with your cheesecakes. For something a little more indulgent, serve a rich hot chocolate topped with whipped cream. If you're hosting an event, consider setting up a DIY drink station with various herbal teas and garnishes for a fun touch. This allows guests to choose their favorite flavors and keep the good vibes rolling!
Time breakdown for Mini No-Bake Cheesecakes
Preparation time
Getting started with these delicious mini no-bake cheesecakes takes about 20 minutes. This includes mixing your graham cracker crust and whipping up the silky filling. It’s like a quick culinary escape in your kitchen!
Chilling time
Once you've assembled everything, the most important step is letting your cheesecakes chill. They need at least 3 hours in the refrigerator to set properly, making them perfectly creamy and delightful.
Total time
All in all, your total time commitment for these mini no-bake cheesecakes is about 3 hours and 20 minutes—but most of that is hands-off waiting time. Perfect for making ahead when you have friends over!
If you're looking for more tips on preparing desserts, check out this guide for expert advice!
Nutritional Facts for Mini No-Bake Cheesecakes
Calories per serving
These delightful mini no-bake cheesecakes come in at approximately 200 calories each, making them a tasty treat that won't break the calorie bank during your dessert time. Perfect for a satisfying snack!
Protein content
Each cheesecake packs a protein punch with around 4 grams of protein per serving. This is largely thanks to the cream cheese and heavy cream in the filling. Not only do you get a sweet treat, but you also benefit from a little extra protein in your diet.
Sugar and fat details
When it comes to sugar and fat, expect about 14 grams of sugar and 16 grams of fat per cheesecake. While they are indulgent, these mini treats can be enjoyed in moderation, especially when paired with a fresh fruit garnish or a drizzle of homemade strawberry sauce. Remember, it’s all about balance!
For more detailed nutritional insights, consider visiting Healthline or NutritionData to learn how various ingredients impact your diet. Enjoy responsibly!
FAQ about Mini No-Bake Cheesecakes
How long can I keep the cheesecakes in the fridge?
You can store your mini no-bake cheesecakes in the fridge for up to 5 days. Just make sure they are tightly covered with plastic wrap or aluminum foil to maintain that creamy goodness. If you're planning to enjoy them later, it's best to refrigerate them right after making and wait at least 3 hours before serving.
Can I freeze mini no-bake cheesecakes?
Absolutely! These little delights freeze wonderfully. After chilling them as directed, remove them from the muffin pan (keep the liners on) and place them in a single layer in a freezer-friendly container. They can be frozen for up to 3 months. When you're ready to indulge, just thaw them in the refrigerator for 24 hours.
What are some common mistakes to avoid?
A few pitfalls can affect your cheesecake experience:
- Skipping room temperature ingredients: Cold cream cheese can lead to lumps in your filling. Always let your cream cheese and sour cream warm up.
- Over-mixing the whipped cream: You want those lovely stiff peaks, not a buttery mess. Fold gently when combining.
- Not packing the crust tight enough: A sturdy crust prevents the filling from leaking. So go ahead, pack it down!
For more tips, check out this guide on common cheesecake mistakes here.
Conclusion on Mini No-Bake Cheesecakes
In summary, mini no-bake cheesecakes are not only a breeze to whip up but also a delightful treat for any occasion. Their creamy texture and customizable toppings make them a crowd-pleaser. Don’t hesitate to experiment with flavors and toppings to create your own signature dessert! For more variations, check out expert tips on cheesecake making here.
Mini No-Bake Cheesecakes
Equipment
- muffin pans
- Cupcake liners
- food processor
- Electric mixer
- Silicone Spatula
- Piping bag
Ingredients
Graham Cracker Crust
- 2 cups graham cracker crumbs (about 16 full sheet graham crackers)
- ⅓ cup brown sugar packed light or dark
- ½ cup unsalted butter melted
Filling
- 1 cup heavy cream cold
- 16 ounces cream cheese full-fat brick, softened to room temperature
- ⅓ cup granulated sugar
- 2 Tablespoons sour cream or plain yogurt, at room temperature
- 1 teaspoon fresh lemon juice
- ½ teaspoon pure vanilla extract
- optional toppings your desired toppings
Instructions
- Line two standard muffin pans with cupcake liners. Make sure you have room in your refrigerator for both pans.
- Prepare the crust: Use a food processor to pulse the graham crackers into fine crumbs. Mix the crumbs, brown sugar, and melted butter until combined. Pack 1 and ½ Tablespoons of the mixture into each cupcake liner.
- Optional: Bake the crusts for 5 minutes in a 350°F (177°C) oven. Let cool for 10 minutes before adding filling if baked.
- Make the filling: Whip the cold heavy cream into stiff peaks. In another bowl, beat the cream cheese and granulated sugar until smooth. Add sour cream, lemon juice, and vanilla and combine. Fold in the whipped cream.
- Transfer the filling on top of the crusts using a spoon or piping bag, about 2 Tablespoons per crust. Smooth the tops with a spoon.
- Refrigerate the mini cheesecakes in the pans for at least 3 hours and up to 2 days. Cover if refrigerating longer than 3 hours.
- Keep refrigerated until ready to serve, and serve with optional toppings.
- Cover and store leftover mini cheesecakes in the refrigerator for up to 5 days.

Leave a Reply