
Introduction to Cheesy Thumbprints with Pepper Jelly
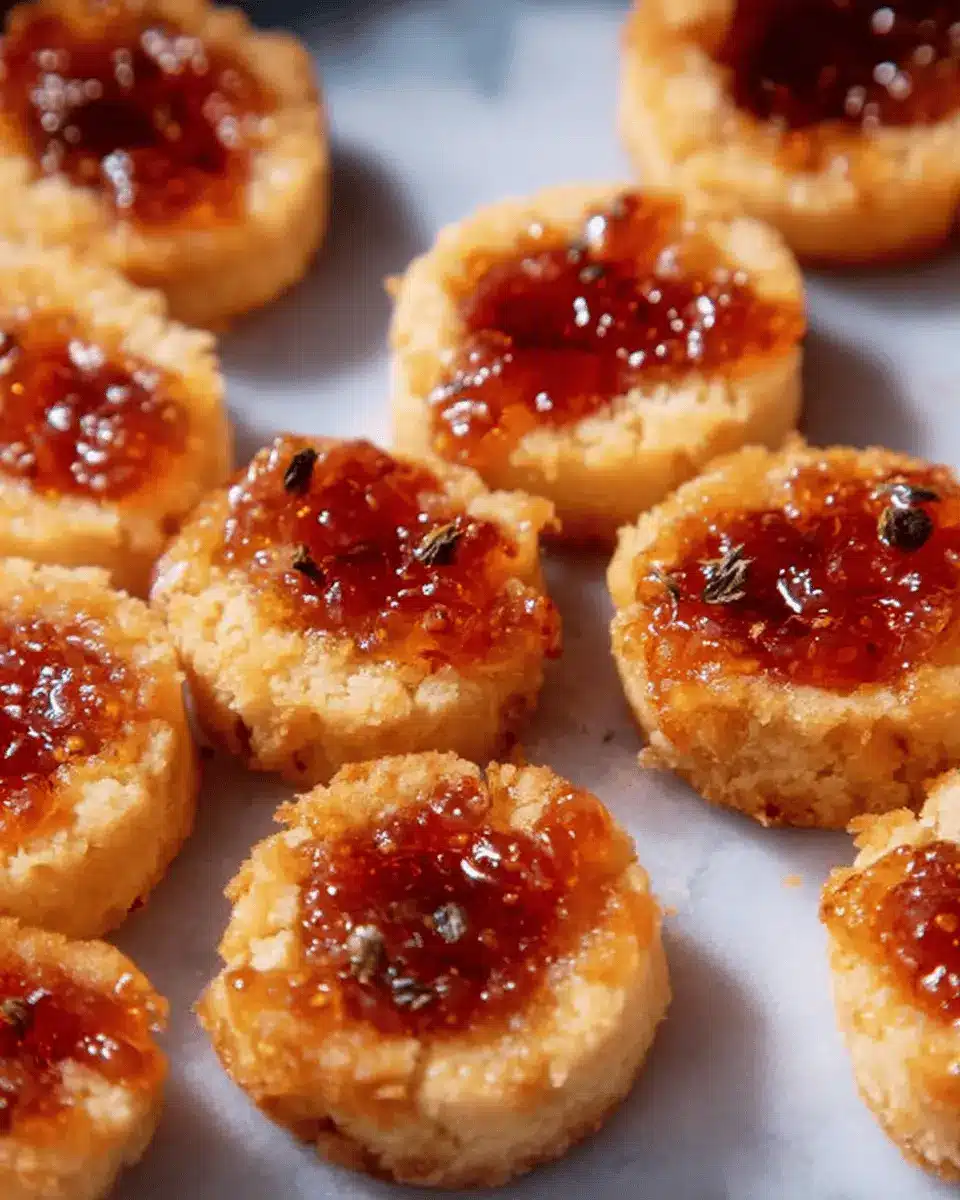
When you think of the ideal homemade snack, what comes to mind? For many, it’s something savory, cheesy, and simply irresistible. Cheesy Thumbprints with Pepper Jelly fit this bill perfectly—they're a delightful blend of flavor and texture that everyone will love. Imagine biting into a warm, soft cheese ball accented with spicy-sweet pepper jelly. It’s the kind of snack that elevates any gathering or cozy night in.
Why are these thumbprints so great? For starters, they’re incredibly easy to whip up. With just a handful of ingredients, including extra sharp cheddar cheese and Mrs. G's pepper jelly, you can create something that feels gourmet without a lot of effort. Plus, they can be made in under an hour, making them perfect for busy weeknights or last-minute entertaining.
According to EatingWell, finger foods are always a hit at parties because they invite mingling and conversation. Style your platter with these thumbprints to encourage socializing over delicious bites. Whether you're looking to impress guests or just treat yourself, these snacks are bound to be your new favorite go-to!
Ingredients for Cheesy Thumbprints with Pepper Jelly
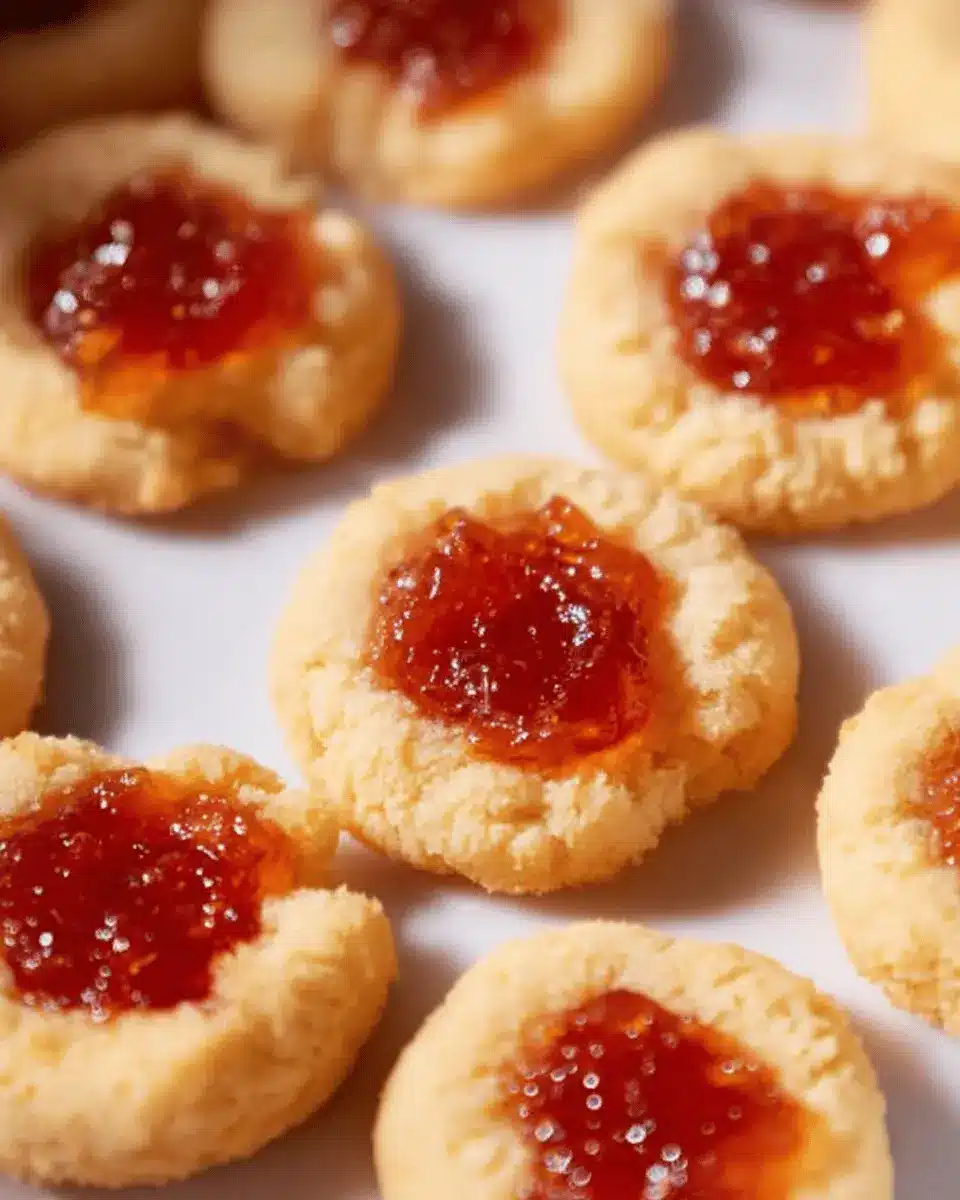
Creating delicious Cheesy Thumbprints with Pepper Jelly is a breeze when you have the right ingredients on hand. This delectable bite combines the richness of cheddar cheese with the sweetness and heat of pepper jelly, making it a perfect appetizer for your next gathering!
Here’s what you’ll need:
- 2 cups extra sharp cheddar cheese: For that bold, cheesy flavor, opt for a high-quality aged cheddar.
- 1 cup all-purpose flour: This will help bring the dough together to form those adorable thumbprint cookies.
- ¼ teaspoon granulated garlic: Because who doesn’t love the warmth of garlic in their snacks?
- ¼ teaspoon sea salt: A little salt enhances all the flavors without overpowering them.
- ¼ teaspoon smoked paprika: This adds a lovely smokiness that complements the cheese perfectly.
- 6 tablespoons chilled butter, chopped: Essential for creating a flaky texture in the dough.
- ½ cup Mrs. G's pepper jelly: The star of the show, adding that unique sweet-spicy kick to your thumbprints.
Gather these ingredients, and you’ll be one step closer to a delightful culinary experience! For more on using pepper jelly in your recipes, check out expert insights from The Spruce Eats. Happy cooking!
Preparing Cheesy Thumbprints with Pepper Jelly
Making Cheesy Thumbprints with Pepper Jelly is a delightful way to impress your friends or simply indulge in a savory snack. Let’s take this step-by-step to ensure you craft the perfect cheesy bites!
Combine Your Ingredients
Start by gathering your ingredients: extra sharp cheddar cheese, all-purpose flour, granulated garlic, sea salt, smoked paprika, and chilled butter. A food processor works wonders here! Simply blend the cheese, flour, butter, and spices until the mixture resembles coarse meal and forms a cohesive dough ball. This step ensures that every bite packs a flavorful punch. As you mix, the aroma of cheese and spices will surely get your taste buds tingling with anticipation.
Chill the Dough
Once your dough is ready, wrap it tightly in plastic wrap and let it chill in the refrigerator for about 30 minutes. This chilling period aids in firming up the dough, making it easier to shape later on. It’s also a great time to clean up your workspace or prep any beverages you’d like to enjoy while cooking—perhaps a refreshing iced tea or lemonade to complement your thumbprints!
Preheat Your Oven
With the dough chilling away, now’s the perfect moment to preheat your oven to 400 degrees Fahrenheit. Preheating is crucial for ensuring even cooking, which contributes to that golden, crispy edge we all love.
Shape and Indent Your Thumbprints
After the dough has chilled, retrieve it from the fridge. Using the large end of a melon ball scooper, shape the dough into approximately one-inch balls. Place these on a baking sheet lined with parchment paper, making sure to leave about an inch of space between them. This is where the fun begins! After baking for about 9 minutes, remove the tray from the oven. Now, it's time to press the back of the melon ball scooper into each ball, creating a perfect indentation for your pepper jelly.
Fill with Pepper Jelly and Bake
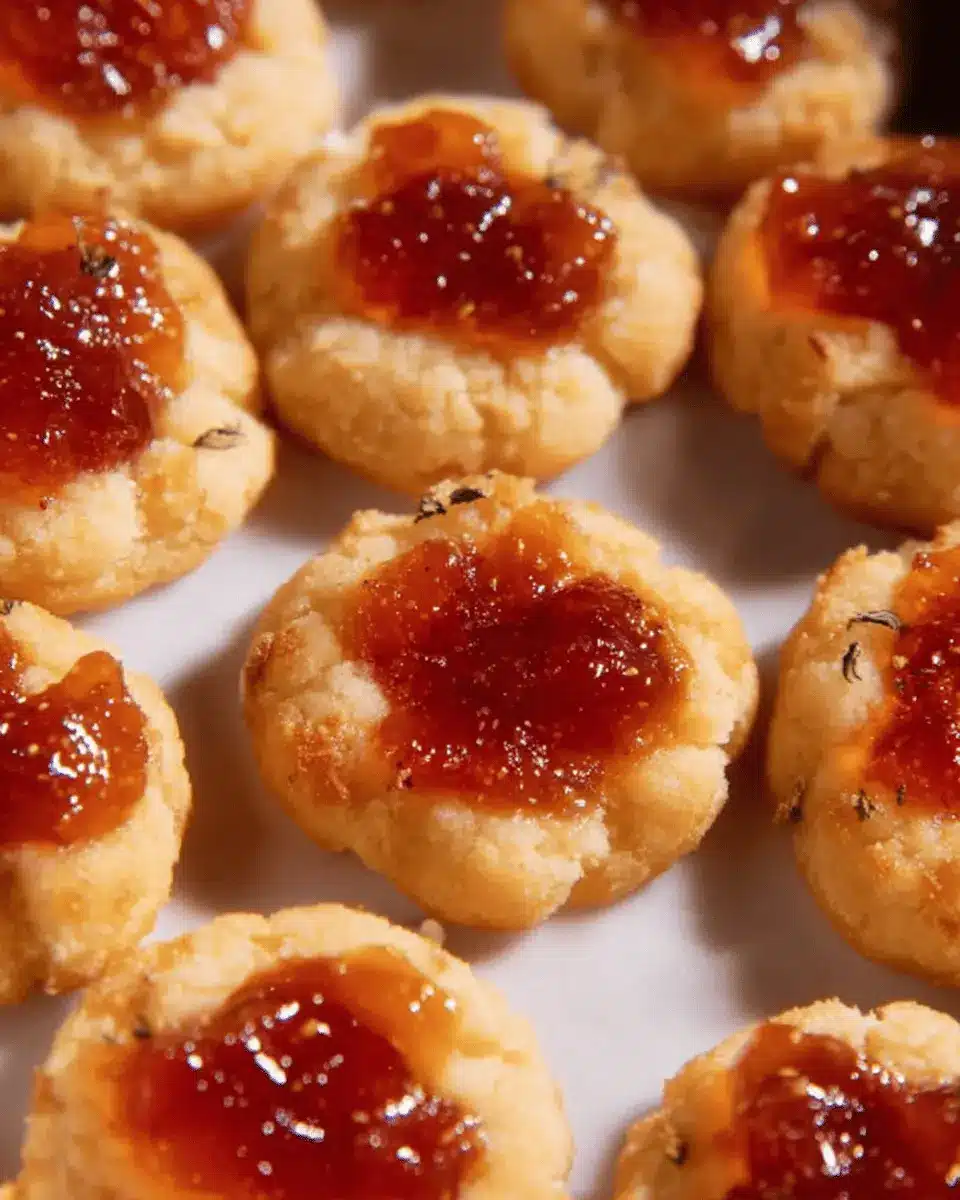
Here’s the best part: filling the thumbprints! Using the smaller end of the melon ball scooper, carefully fill each indentation with Mrs. G's pepper jelly. If you haven’t tried this sweet, spicy treat before, it’s a game changer! Pop the sheet back into the oven and bake for an additional 9 minutes or until the edges turn golden brown. Remember, as ovens vary, keep a close eye on them as the baking time can differ.
Once baked, allow them to cool before transferring to a serving plate. Voila! You now have a platter of Cheesy Thumbprints with Pepper Jelly ready to dazzle your guests. Enjoy their delightful blend of savory cheese and sweet heat!
For tips on food pairings and entertaining, check out resources from Epicurious or Bon Appétit for inspiration. Happy cooking!
Variations on Cheesy Thumbprints
Spicy Jalapeño Thumbprints
For a delightful kick, try spicy jalapeño thumbprints! Simply mix finely chopped jalapeños into the cheesy dough for a savory heat. Adding a sprinkle of crushed red pepper flakes elevates the flavors even more. If you love a little extra spice, consider swapping the pepper jelly for a spicier variation, like a jalapeño jelly, to complement the rich cheesiness perfectly.
Herb-Infused Cheesy Thumbprints
Want a fresh twist? Incorporate your favorite herbs, such as rosemary or thyme, right into the dough for these herb-infused cheesy thumbprints. Fresh herbs not only enhance the aroma but also add a vibrant taste profile that pairs wonderfully with the pepper jelly. For guidance on the best herbs to use, check out this great resource on flavor pairings.
Cooking Tips and Notes for Cheesy Thumbprints
When making Cheesy Thumbprints with Pepper Jelly, a few key tips can elevate your dish. First, use the best quality extra sharp cheddar cheese you can find—it makes a noticeable difference in flavor. If you prefer a little heat, consider adding diced jalapeños to the dough.
Chilling the dough is essential; it keeps cookies from spreading too much as they bake. You can prep ahead and refrigerate the dough overnight. Also, watch your baking time—like all ovens, they can vary. Keeping an eye on them ensures they achieve that perfect golden edge. Don't skip the cooling step; it helps the flavors meld beautifully!
For serving, pair your cheesy bites with a refreshing drink like iced tea, which complements the savory flavors perfectly.
Looking for more creative appetizers? Check out this guide to hosting a cheese party for additional fun ideas!
Serving Suggestions for Cheesy Thumbprints
When it comes to serving your Cheesy Thumbprints with Pepper Jelly, the options are as delightful as the bites themselves. Here are some irresistible ideas:
-
Pair with Veggies: Serve alongside a colorful platter of fresh vegetables like carrots, cucumber, and bell peppers. The crunch balances the creaminess of the cheese, creating a delightful snack.
-
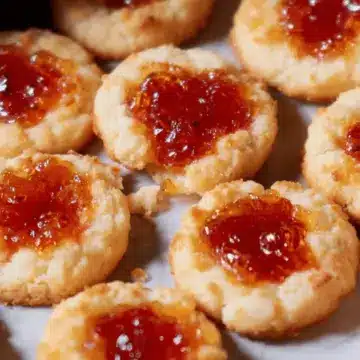
Perfect for Parties: Arrange your thumbprints on a platter to impress guests. They are perfect for casual gatherings or more sophisticated soirées and pair wonderfully with a tangy apple cider or sparkling lemonade.
-
Go Gourmet: Elevate your cheese experience by topping them with a slice of turkey bacon or a smear of chicken ham.
These Cheesy Thumbprints with Pepper Jelly are not just a treat—they're a conversation starter! For more serving ideas, check out these entertaining tips that can transform your snack into a culinary experience.
Time breakdown for Cheesy Thumbprints
Preparation time
Getting started on your Cheesy Thumbprints with Pepper Jelly is a breeze! Set aside 15 minutes to gather your ingredients and whip up the dough. This quick prep ensures you can dive right into enjoying these delightful bites in no time.
Baking time
Once your dough is ready, baking your cheesy treats is a two-part process. The first bake takes about 9 minutes to set the shape. After creating those cute little thumbprint indentations, they need another 9 minutes in the oven. Voila! Just 18 minutes of baking to perfect your thumbprints.
Total time
From start to finish, you’re looking at roughly 1 hour. This includes dough chilling time, preparation, and baking. In just an hour, you can have these delicious Cheesy Thumbprints with Pepper Jelly ready to impress your friends and family!
For more tips on quick appetizers, check out this resource on snack ideas or discover various pepper jelly brands that can elevate your recipe here.
Nutritional Facts for Cheesy Thumbprints
Calories
Each Cheesy Thumbprint with Pepper Jelly contains approximately 95 calories, making them a deliciously satisfying snack or appetizer without overwhelming your daily intake.
Protein
These tasty bites pack a punch with about 3 grams of protein per thumbprint, thanks to the rich cheddar cheese. Protein is essential for maintaining muscle mass and overall health, so enjoy this cheesy treat guilt-free!
Sodium
With around 120 milligrams of sodium each, these thumbprints deliver great flavor while still staying within reasonable limits. It's a fantastic option for those watching their sodium intake. Just remember, moderation is key!
For more information on maintaining a balanced diet, check out resources like the USDA's MyPlate for tips on nutrition and portion sizes.
FAQs about Cheesy Thumbprints with Pepper Jelly
Can I use different kinds of cheese?
Absolutely! While extra sharp cheddar brings great flavor to your Cheesy Thumbprints with Pepper Jelly, feel free to experiment with other cheeses. Options like gouda, pepper jack, or even a blend of mozzarella and parmesan can create delightful variations. Just remember that the texture and melting properties vary, so adjust your baking time slightly if needed.
How long can I store leftover thumbprints?
Leftover Cheesy Thumbprints with Pepper Jelly can be stored in an airtight container in the refrigerator for up to five days. If you want to extend their shelf life, consider freezing them. Just place the baked thumbprints on a baking sheet until frozen, then transfer them to a freezer bag. They’ll be good for up to three months!
What can I serve with Cheesy Thumbprints?
These delicious bites are perfect as an appetizer, but don't stop there! Pair your Cheesy Thumbprints with Pepper Jelly with a variety of options, such as:
- Fresh veggie platters with hummus
- Charcuterie boards with cured meats like chicken ham or turkey bacon
- Crisp crackers or breadsticks
- A refreshing salad for a light lunch
For more serving ideas, check out resources like Epicurious or Bon Appétit. Enjoy your culinary adventures!
Conclusion on Cheesy Thumbprints with Pepper Jelly
In conclusion, Cheesy Thumbprints with Pepper Jelly are a delightful fusion of savory and sweet. Perfect for gatherings or a cozy night in, these bite-sized treats are sure to impress. Enjoy experimenting with different jams or cheeses to tailor them to your taste! Happy baking!
Cheesy Thumbprints with Pepper Jelly
Equipment
- food processor
- Baking Sheet
- melon ball scooper
- Plastic wrap
Ingredients
- 2 cups extra sharp cheddar cheese
- 1 cup all purpose flour
- ¼ teaspoon granulated garlic
- ¼ teaspoon sea salt
- ¼ teaspoon smoked paprika
- 6 tablespoons chilled butter, chopped
- ½ cup Mrs. G's pepper jelly
Instructions
- Blend cheese, flour, butter and spices in a food processor until dough is a coarse-meal texture and forms into a ball. Wrap dough in plastic wrap and refrigerate for 30 minutes.
- Preheat oven to 400 degrees.
- Using the large end of a melon ball scooper, shape dough into approximately 1" balls and place 1 inch apart on a baking sheet.
- Bake in the preheated oven for 9 minutes, remove from oven; press back of the large end of the melon ball scooper into the top of each ball, creating an indentation. Using the smaller end of the melon ball scooper, fill it full or about ¾ with pepper jelly, then spoon it into indentation.
- Place back in oven and bake until edges are golden brown, about 9 more minutes. Oven temperatures can vary, so your times may be different.
- Let cool before transferring.

Leave a Reply