
Introduction to Sunshine Bliss Bars
What are Sunshine Bliss Bars?
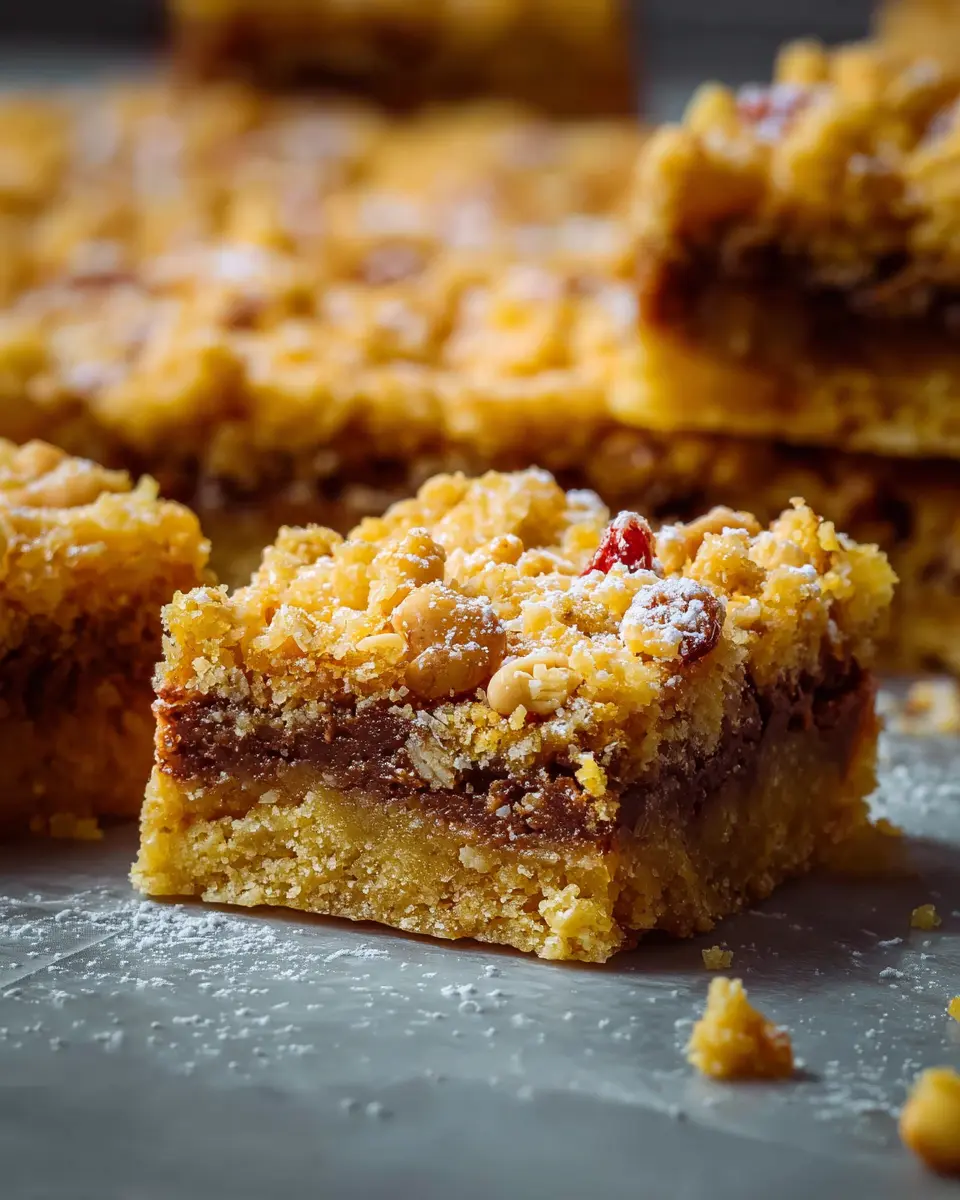
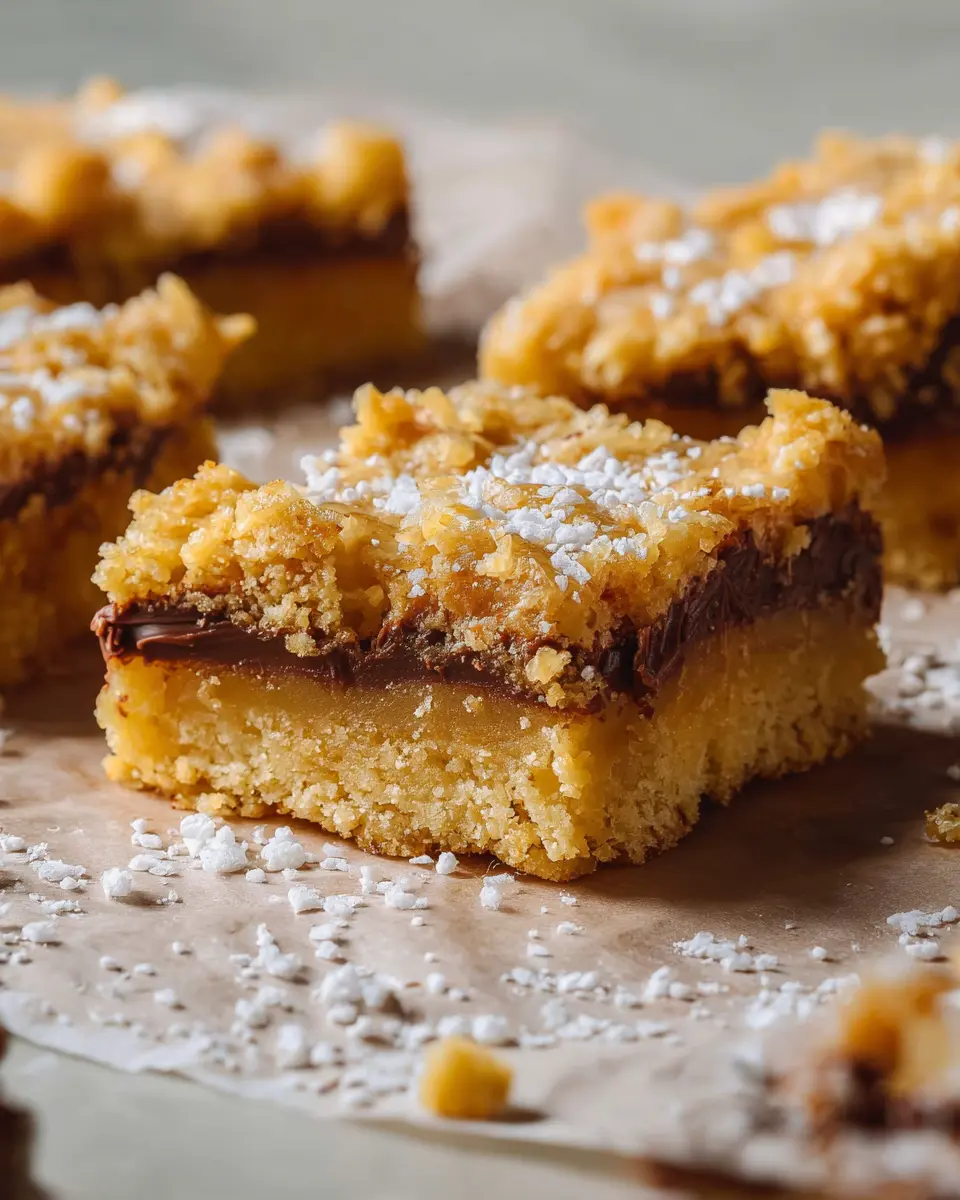
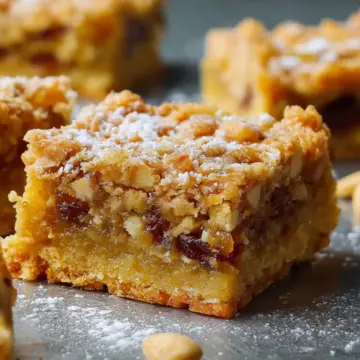
Sunshine Bliss Bars are delightful baked treats that combine a crisp, buttery crust with a luscious pineapple filling. These bars are not only easy to make but also bring a burst of tropical flavor to your palate. Imagine biting into a soft, sweet layer of sun-kissed pineapple while the golden crust crumbles beneath your teeth. Perfect for gatherings or as a midday snack, these bars can brighten up any day.
Why You’ll Love Making These Bars at Home
Making Sunshine Bliss Bars in your kitchen brings several benefits beyond the delicious outcome. First, the joy of baking is unmatched; it's therapeutic and allows you to take control of the ingredients. By preparing them at home, you can ensure freshness and tailor the recipe to your preferences.
Did you know that homemade snacks can be healthier than store-bought options? You can substitute ingredients like reducing sugar or using whole grain flour! Plus, there’s something immensely satisfying about slicing into your own creation and sharing it with friends. Impressing guests or just treating yourself has never been easier. So, roll up your sleeves, preheat that oven, and get ready to enjoy a taste of sunshine!
For more tropical flavors, you might want to check out this online guide to tropical fruits.
Ingredients for Sunshine Bliss Bars
When it comes to baking up a batch of Sunshine Bliss Bars, the right ingredients can make all the difference. Let’s breakdown what you’ll need for both the crust and topping, as well as the luscious pineapple filling that brings these bars to life!
For the crust and topping
- 1 ½ sticks (12 tablespoons) unsalted butter, melted and cooled slightly
- 1 teaspoon vanilla extract
- ¾ teaspoon kosher salt
- 2 cups all-purpose flour
- ½ cup granulated sugar
- ¾ teaspoon baking powder
The crust is your warm, buttery foundation that beautifully complements the fruity filling. It’s super easy to whip up and provides that perfect crunch!
For the pineapple filling
- 1 (20-ounce) can crushed pineapple in 100% juice
- ½ cup granulated sugar
- 3 tablespoons cornstarch
- ¼ teaspoon kosher salt
- Powdered sugar, for dusting
This filling is where the magic happens! The crushed pineapple contributes a delightful sweetness, while the cornstarch helps thicken it, ensuring each bite is a burst of tropical flavor. For more delicious pineapple recipes, check out Bon Appétit’s tropical desserts.
With these ingredients in hand, you'll be all set to create a batch of Sunshine Bliss Bars that will brighten anyone's day!
Preparing Sunshine Bliss Bars
Creating your very own Sunshine Bliss Bars is a delightful way to brighten up your baking routine. These bars are a fusion of a buttery crust and a luscious pineapple filling — perfect for a snack or dessert. Let’s dive into the step-by-step process to ensure your bars turn out perfectly tasty!
Prepare the pan and preheat the oven
Begin by heating your oven to 350°F. While it's warming up, grab an 8x8-inch square baking pan and line it with parchment paper. For easy removal later, position two sheets of parchment in the pan, crossing them so they hang over the edges. This creates a handy sling, making it simple to lift the Sunshine Bliss Bars out once they’re baked.
Make the crust
In a large mixing bowl, combine 1 ½ sticks of melted unsalted butter, 1 teaspoon of vanilla extract, and ¾ teaspoon of kosher salt. Stir these ingredients together until well-combined — it should smell heavenly! Next, add 2 cups of all-purpose flour, followed by ½ cup of granulated sugar and ¾ teaspoon baking powder. Mix until a soft dough forms, ensuring there are no dry streaks remaining.
It's helpful to reserve ¾ cup of this dough, which you’ll use later for crumbling on top of the filling, so set that aside. Transfer the remaining dough into your prepared pan and press it down evenly using your hands or a flat-bottomed measuring cup.
Bake the crust
Place the crust in your preheated oven and bake for about 17 to 20 minutes until it turns a light golden-brown and appears dry on top. Once it’s done, let it cool for 8 to 10 minutes while you prepare the delicious pineapple filling.
Prepare the pineapple filling
To whip up the filling, increase the oven temperature to 375°F. Open your can of crushed pineapple (around 20 ounces) and drain it in a strainer, pressing gently to get rid of excess juice (hint: you can reserve that juice for your morning smoothie!). In the now-empty mixing bowl, mix the drained pineapple with ½ cup of granulated sugar, 3 tablespoons of cornstarch, and ¼ teaspoon kosher salt until everything is well combined.
Assemble and bake the bars
Pour the pineapple mixture over the slightly cooled crust, spreading it into an even layer. Next, crumbled that reserved dough on top of the filling. Bake everything together for 30 to 35 minutes until the top is golden-brown and the filling is set. After baking, let the pan cool on a wire rack for about two hours. When you're ready to serve, just use the parchment sling to lift the slab of bars out, dust with powdered sugar, and cut into delightful squares!
Enjoy your homemade Sunshine Bliss Bars — they’re sure to bring a taste of sunshine to your day! For more delicious recipes, consider checking out cooking blogs like Serious Eats or The Kitchn.
Variations on Sunshine Bliss Bars
Tropical twist with coconut
For a delightful tropical twist on your Sunshine Bliss Bars, consider adding shredded coconut to the filling and crust. Just fold in 1 cup of unsweetened shredded coconut with the pineapple filling for an extra layer of flavor and texture. Not only does coconut enhance the bars' tropical vibe, but it also offers a rich, chewy element that complements the pineapple beautifully. If you're feeling adventurous, topping the bars with toasted coconut flakes adds a stunning crunch — plus, it looks gorgeous!
Adding fresh fruit for extra flavor
Another way to customize your Sunshine Bliss Bars is by incorporating fresh fruit. Think chopped mango or diced kiwi mixed into the filling for a vibrant, colorful treat. Fresh fruit not only brings freshness but also adds a natural sweetness and lovely bursts of flavor. You could also drizzle some honey or agave syrup over the top before baking for additional sweetness while keeping it all-natural. The options are limitless, so don't hesitate to experiment with your favorite fruits!
Feeling inspired? You can find more fruity variations and tips at Food Network. Enjoy your baking!
Baking notes for Sunshine Bliss Bars
Common pitfalls to avoid
Making Sunshine Bliss Bars isn't complicated, but a few missteps can lead to less-than-satisfactory results. Avoid using un-drained pineapple, as excess moisture can make the filling soggy. Also, be careful not to overmix the crust; this can result in a tough texture instead of the desired crumbly goodness. Lastly, placing your bars in the fridge too soon can hinder the setting process, so allow them to cool completely at room temperature.
Tips for achieving the perfect texture
For that ideal texture in your Sunshine Bliss Bars, ensure your butter is melted but not hot when mixing the crust. This will help create a tender base. Use room temperature ingredients when making the filling to promote even incorporation. If you're using a glass baking dish, remember to reduce the oven temperature by about 25°F for the best results. Perfectly baked bars should be golden and slightly firm to the touch!
For more insights on baking techniques, you can check out resources like The Kitchn.
Serving suggestions for Sunshine Bliss Bars
Best drinks to pair with Sunshine Bliss Bars
When enjoying your Sunshine Bliss Bars, a refreshing drink can elevate your tasting experience. Here are some delightful pairings:
- Iced Herbal Tea: Bright and floral flavors, like hibiscus or chamomile, complement the tropical notes of the pineapple beautifully.
- Sparkling Water or Lemonade: A citrusy twist adds a refreshing zing that balances the sweetness of the bars.
- Coconut Milk Smoothie: Blend coconut milk with a banana for a creamy, tropical treat that enhances the bar's fruity filling.
Presentation ideas to impress your guests
Making your Sunshine Bliss Bars visually appealing is just as important as their taste. Here are a few creative presentation ideas:
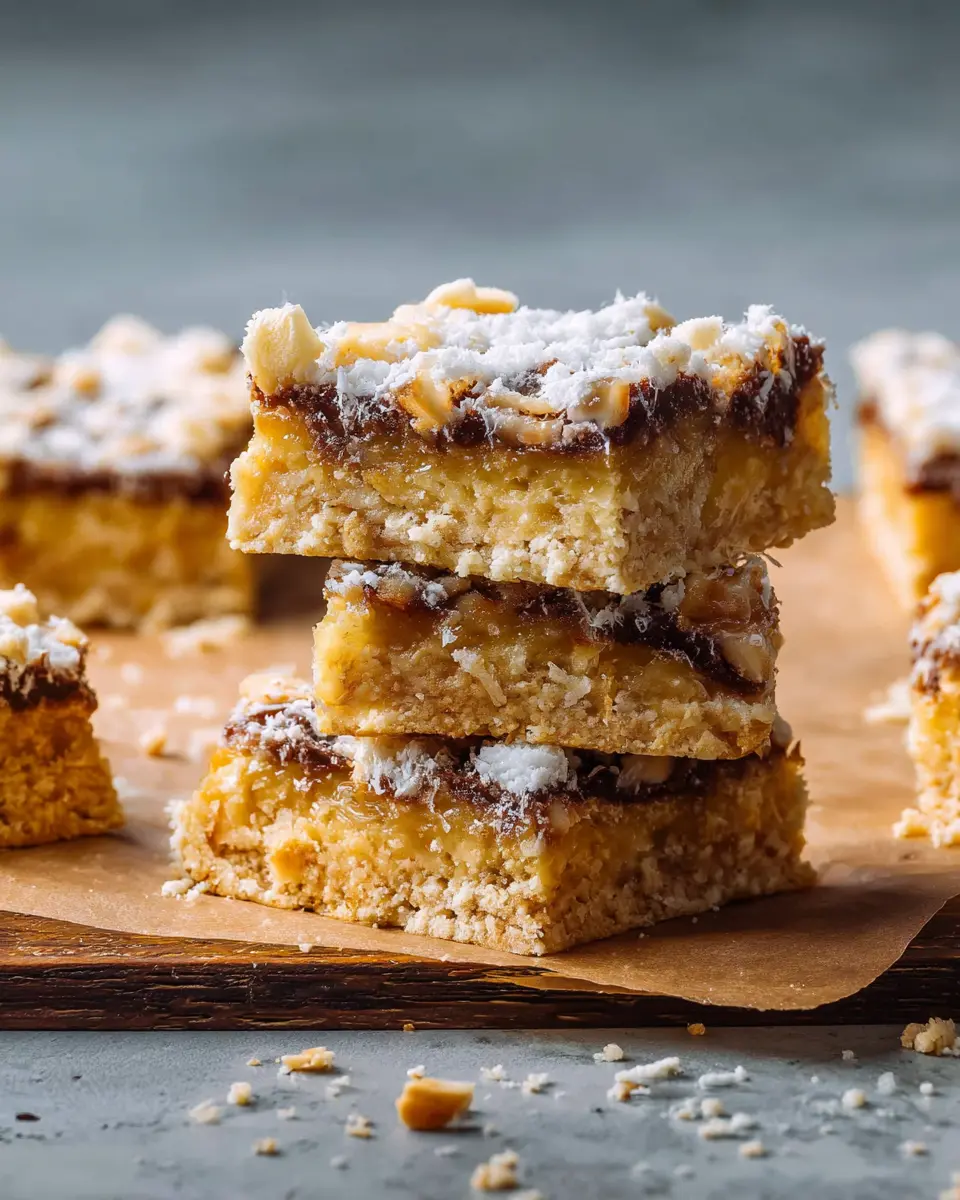
- Serving on a Wooden Board: Place the cut bars on a rustic wooden board and sprinkle with powdered sugar for a charming, homey feel.
- Garnish with Fresh Fruit: Add slices of fresh pineapple or a sprig of mint to each plated bar for a pop of color and a hint of freshness.
- Individual Wraps: For a fun twist, wrap each bar in parchment paper, tied with twine, allowing guests to easily grab and enjoy.
These simple yet effective serving ideas will undoubtedly impress your guests and make each bite of Sunshine Bliss Bars truly memorable!
Time Details for Sunshine Bliss Bars
Preparation Time
Getting ready to make your Sunshine Bliss Bars takes just about 15-20 minutes. This includes gathering your ingredients, prepping your baking pan, and mixing up that delicious crust and pineapple filling.
Baking Time
Once everything is assembled, you'll be looking at around 47-55 minutes of baking. The crust bakes for about 17-20 minutes, followed by an additional 30-35 minutes for the filled bars to set perfectly.
Total Time
In total, you're looking at approximately 2 hours and 15 minutes from start to finish. This includes cooling time for the bars. So, while they take a bit to prepare and bake, the wait will be absolutely worth it for those Sunshine Bliss Bars!
By the time everything is done, you'll have a delightful treat, perfect for sharing or enjoying alone (though who could resist sharing?). For a deeper dive into baking fundamentals, check out this comprehensive baking guide to really hone your skills!
Nutritional information for Sunshine Bliss Bars
Calories per bar
Each serving of Sunshine Bliss Bars contains approximately 180 calories, providing a delightful balance of sweetness without overwhelming your daily calorie intake.
Key nutrients
These bars are not only tasty but also packed with nutrients:
- Carbohydrates: 28g, offering quick energy
- Sugars: 10g, primarily from the natural sweetness of pineapple
- Fat: 7g, from the butter for a satisfying texture
- Protein: 2g, thanks to the flour and optional toppings
These bars make for a cheerful treat, perfect for sharing at gatherings or enjoying with a cup of tea. If you want to dive deeper into nutrition, check out Nutrition.gov.
FAQs about Sunshine Bliss Bars
Can I use fresh pineapple instead of canned?
Absolutely! While the recipe calls for canned crushed pineapple for its convenience, using fresh pineapple is a great option if you prefer it. Just be sure to finely chop the pineapple and drain it well to maintain the right consistency. This will still give you that fabulous fruity flavor in your Sunshine Bliss Bars.
How should I store leftover bars?
To keep your Sunshine Bliss Bars fresh, store them in an airtight container at room temperature for up to three days. If you need to keep them longer, freeze them! Wrap the cooled bars tightly in plastic wrap and aluminum foil to prevent freezer burn. They'll last up to three months in the freezer.
Can I make these bars vegan-friendly?
Certainly! To make a vegan version of these Sunshine Bliss Bars, simply substitute the unsalted butter with a plant-based butter or coconut oil. Additionally, you can replace the granulated sugar with coconut sugar, and use a flaxseed meal mixed with water as a binding agent. They’ll be just as delicious and satisfying!
Conclusion on Sunshine Bliss Bars
Recap of why these bars are a must-try
In summary, Sunshine Bliss Bars are not just a treat; they're a delightful experience bursting with tropical flavors. Their perfect balance of sweet pineapple and buttery crust makes them an ideal snack for any occasion. Treat yourself and your friends—these bars are bound to brighten anyone's day!
For more delightful recipes, check out this collection of tropical desserts that will keep the sunshine coming!
Sunshine Bliss Bars
Equipment
- 8x8-inch square baking pan
- Parchment paper
- mixing bowl
- Strainer
Ingredients
For the crust and topping
- 12 tablespoons unsalted butter, melted and cooled slightly
- 1 teaspoon vanilla extract
- ¾ teaspoon kosher salt
- 2 cups all-purpose flour
- ½ cup granulated sugar
- ¾ teaspoon baking powder
For the pineapple filling
- 1 20-ounce can crushed pineapple in 100% juice
- ½ cup granulated sugar
- 3 tablespoons cornstarch
- ¼ teaspoon kosher salt
- powdered sugar, for dusting
Instructions
Make the crust
- Heat the oven to 350°F. Line an 8x8-inch square baking pan with 2 sheets of parchment paper, positioning them perpendicular to each other so that the parchment hangs over all 4 sides of the pan to form a sling.
- Stir melted unsalted butter, vanilla extract, and kosher salt together in a large bowl until well-combined. Stir in all-purpose flour, granulated sugar, and baking powder until a soft dough forms and no dry streaks remain.
- Reserve ¾ cup of the dough. Transfer the remaining dough to the baking pan, and press it into an even layer.
- Bake until light golden-brown and the top appears dry, 17 to 20 minutes. Let cool slightly, 8 to 10 minutes.
Make the pineapple filling and assemble
- Increase the oven temperature to 375°F. Drain the crushed pineapple and gently press against the strainer to remove as much liquid as possible.
- Stir the pineapple, granulated sugar, cornstarch, and kosher salt together until combined.
- Pour over the slightly cooled crust and spread into an even layer. Crumble the reserved dough evenly over the filling.
- Bake until the top is golden-brown and the filling is set, 30 to 35 minutes. Place the pan on a wire rack and let cool completely, about 2 hours.
- To serve, grasp the excess parchment and remove the slab from the pan to a cutting board. Dust with powdered sugar and cut into 16 pieces.

Leave a Reply