
Introduction to Classic Apple Crisp Recipe
The Comforting Allure of Homemade Apple Crisp
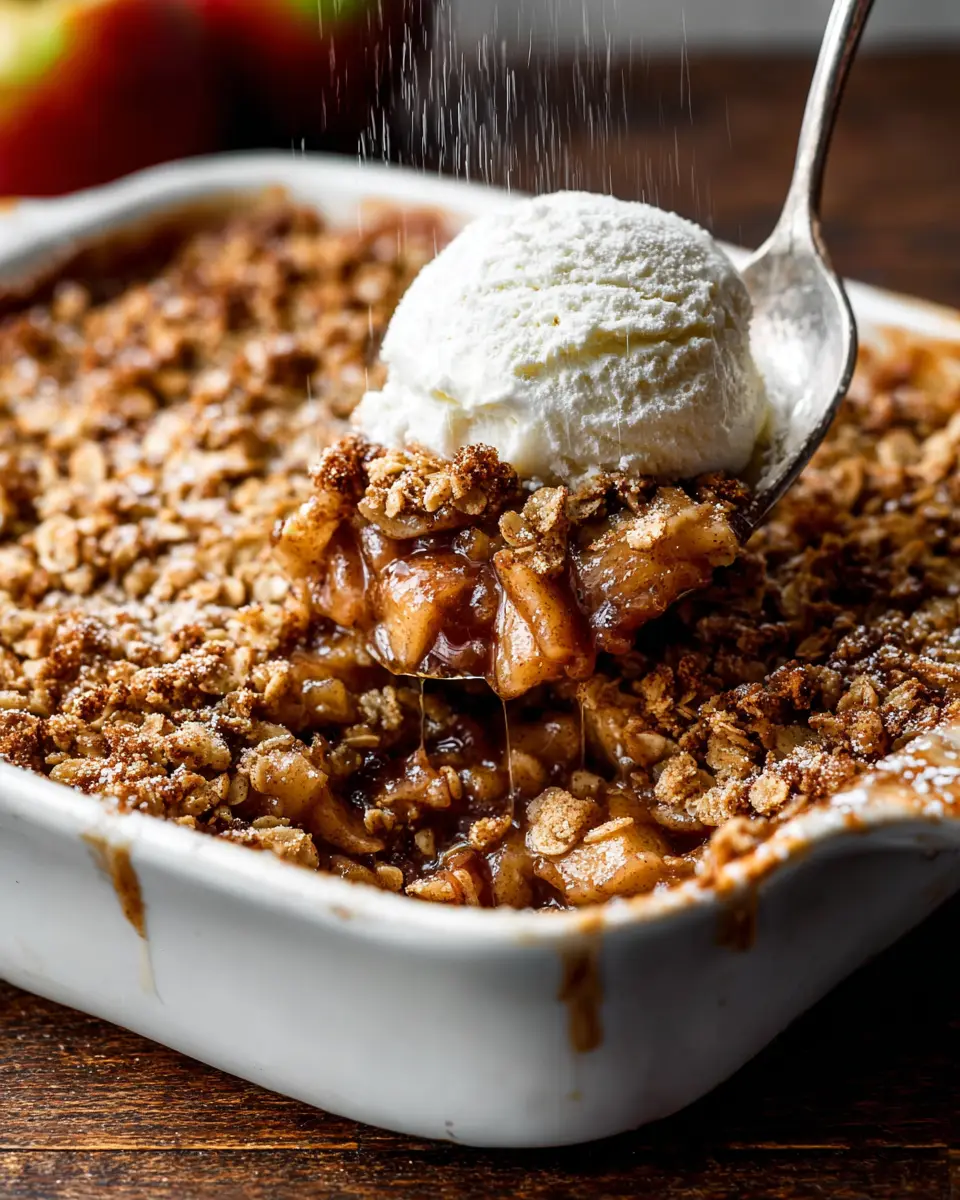
There's something uniquely inviting about the aroma of a classic apple crisp baking in the oven. As the juicy apples meld with the warm spices, it creates a comforting atmosphere that calls to mind cozy family gatherings and chilly autumn evenings. Picture this: you walk into your kitchen, and the sweet scent of cinnamon and baked apples envelopes you like a warm hug.
Not only does this dish tantalize your senses, but it also offers a simple way to showcase your culinary skills. The classic apple crisp recipe blends tender apples with a crunchy topping made primarily from pantry staples. Whether it’s an after-school snack or the perfect dessert for an elegant dinner, this recipe is sure to impress.
Making apple crisp can be a delightful family affair, inviting your loved ones to lend a hand in peeling and slicing apples or stirring the crumbly topping. Don't forget to check out different apple varieties for the best flavor—Granny Smith and Honeycrisp make an excellent combination! So, grab those fresh apples and let’s dive into this heartwarming recipe that promises both nostalgia and satisfaction.
For more tips on choosing apples, visit Sally's Baking Addiction.
Ingredients for Classic Apple Crisp
Creating a delightful classic apple crisp recipe starts with choosing the right ingredients that blend beautifully to deliver comfort and warmth in each bite. Below is everything you'll need to make this iconic dessert shine.
For the Filling
- 8 medium apples: Opt for a mix like Granny Smith and Pink Lady, cut into 1-inch chunks (about 10 cups in total). This balance brings tartness and sweetness together perfectly.
- ½ cup brown sugar: Add a hint of caramel flavor to enhance the apples.
- ¼ cup all-purpose flour: This will help bind the filling and thicken the juices as it bakes.
- 1 teaspoon pure vanilla extract: A splash of vanilla elevates the flavor to a new level.
- 1 teaspoon ground cinnamon & ½ teaspoon ground nutmeg: These warm spices are essential for that cozy aroma.
- ¼ teaspoon salt: Just a pinch to enhance all the flavors.
For the Topping
- ¾ cup all-purpose flour: A key ingredient for a crumbly topping.
- ¾ cup brown sugar: Adds sweetness and caramel notes.
- 1 teaspoon ground cinnamon: For extra warmth in the topping.
- ½ cup unsalted butter, cold and cubed: This creates a wonderful, flaky texture.
- 1 cup old-fashioned oats: These add chewiness and heartiness.
- Optional: Drizzle on some salted caramel or serve with vanilla ice cream for an indulgent finish.
With these ingredients on hand, you're all set to bake up a classic apple crisp that will surely impress your friends and family! For more tips on apple selection, check out this guide on the best apples for baking.
Step-by-Step Preparation of Classic Apple Crisp
When it comes to comfort food, few desserts can compete with the allure of a warm classic apple crisp. The enticing aroma of baked apples and cinnamon wafting through your kitchen is simply irresistible! Let’s walk through the steps to create this delightful dish from scratch.
Preheat the oven and prepare the baking pan
Start by preheating your oven to 350°F (177°C). While that's warming up, grab a 9×13-inch baking pan (or a similar size works too!) and lightly grease it to prevent sticking. This quick step ensures that your apple crisp will be easy to serve once it’s baked to perfection.
Mix the filling ingredients
Next, let's focus on the filling! In a large mixing bowl, combine your freshly peeled and chunked apples (about 10 cups or 1200g). Add in ½ cup of brown sugar, ¼ cup of all-purpose flour, 1 teaspoon of pure vanilla extract, 1 teaspoon of ground cinnamon, ½ teaspoon of ground nutmeg, and ¼ teaspoon of salt. Stir everything together until your apple chunks are well coated in the sweet and fragrant mixture. For tips on picking the best apples for baking, check out this guide on the best apples.
Create the crumbly topping
While your filling is settling, it’s time to whip up the topping! In another bowl, whisk together ¾ cup of all-purpose flour, ¾ cup of brown sugar, and 1 teaspoon of ground cinnamon. Now, cold and cubed unsalted butter comes into play; you can use a pastry cutter or even a fork to cut the butter into the dry ingredients until the mixture resembles coarse crumbs. Finally, fold in 1 cup of old-fashioned rolled oats for that signature crunch.
Assemble the layers in the pan
With both components ready, it's assembly time! Spread the apple filling evenly in the prepared baking pan, ensuring that none of those delicious apple pieces are left behind. Next, sprinkle the crumbly topping generously over the filling, ensuring an even coverage. Don't be shy; this topping is where a lot of the flavor comes from!
Bake and cool the apple crisp
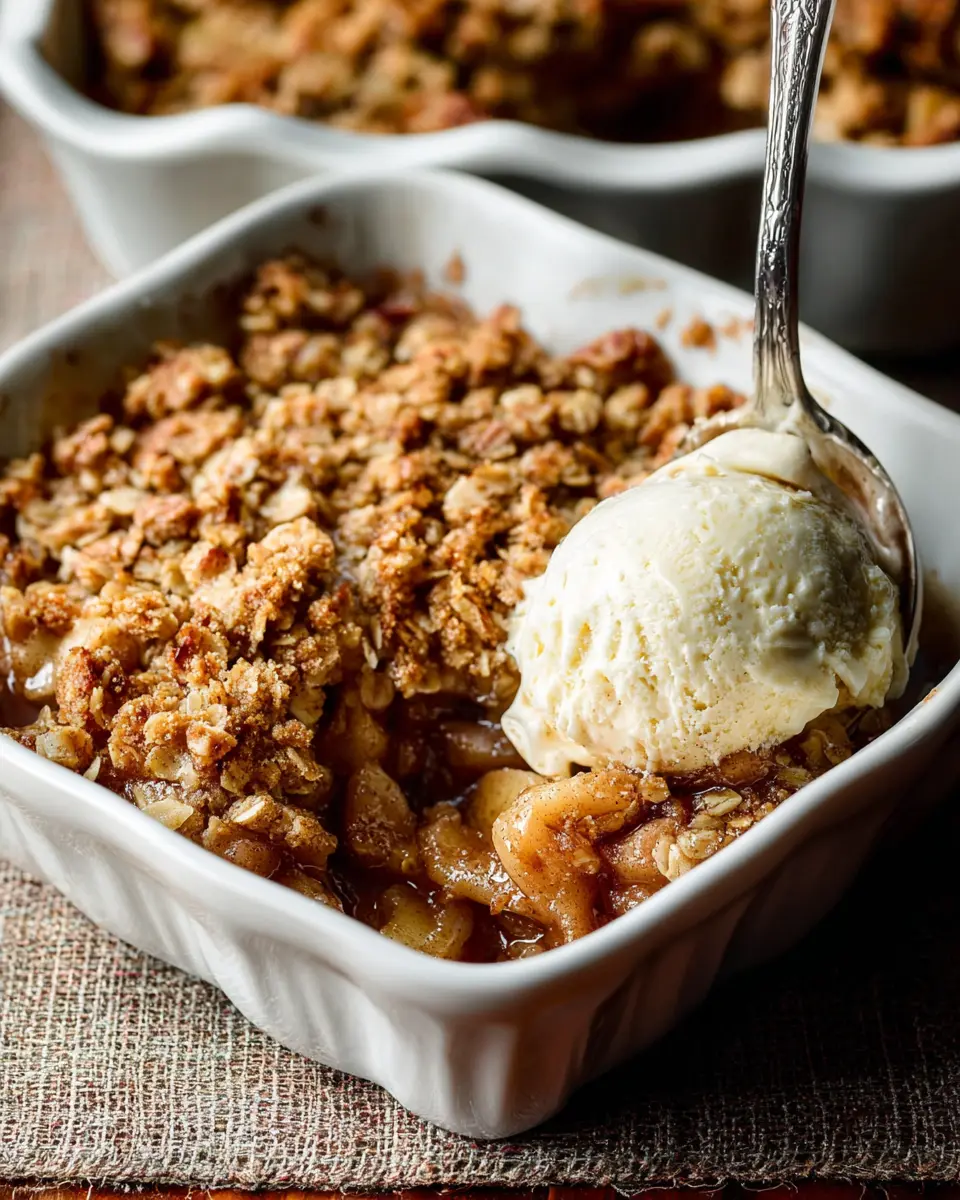
Slide your assembled classic apple crisp into the preheated oven and bake for about 45 minutes. You’ll know it’s ready when the topping is golden brown and the sweet, bubbly filling has just started to peak around the edges. Once baked, let it cool for at least 5 minutes before diving in. The cooling time not only makes it safer to eat but allows those warm flavors to meld together even more beautifully.
Serve up your classic masterpiece warm, perhaps with a drizzle of salted caramel or a scoop of vanilla ice cream. Enjoy every bite of this seasonal delight!
Variations on Classic Apple Crisp
Gluten-Free Apple Crisp
If you’re looking for a gluten-free option, you can easily substitute the all-purpose flour in the filling and topping with almond flour or a gluten-free baking blend. This ensures you can still enjoy your classic apple crisp recipe without compromising on taste or texture. Serve it warm with a scoop of vanilla ice cream for a truly delightful treat!
Apple Crisp with Nuts
For added crunch and richness, try incorporating nuts into your apple crisp. Chopped pecans or walnuts can be mixed into the topping for an extra layer of flavor. About one cup of nuts works beautifully and pairs perfectly with the sweet, warm apples. This variation not only enhances texture but also contributes healthy fats. Feel free to explore nut mixtures; combination can elevate the dish!
These delightful twists keep your classic apple crisp fresh and exciting, perfect for impressing friends or family during cozy gatherings!
Cooking Tips and Notes for Classic Apple Crisp
Choosing the right apples
Selecting the right apples is crucial for the perfect classic apple crisp recipe. Look for a mix of tart and sweet varieties for balanced flavor. Granny Smith apples offer the tartness, while Jazz or Pink Lady apples add sweetness. These combinations ensure a delightful contrast, making each bite memorable. Check out top baking apples for more options here.
Make-ahead and freezing tips
You can certainly prep your apple crisp in advance! Assemble it through step 3, cover, and refrigerate for up to one day before baking. For longer storage, freeze the unbaked crumble for up to three months. Just remember to allow it to thaw overnight in the fridge before popping it into the oven. This way, you can enjoy freshly baked apple crisp with minimal effort!
Serving Suggestions for Classic Apple Crisp
Serving with Vanilla Ice Cream
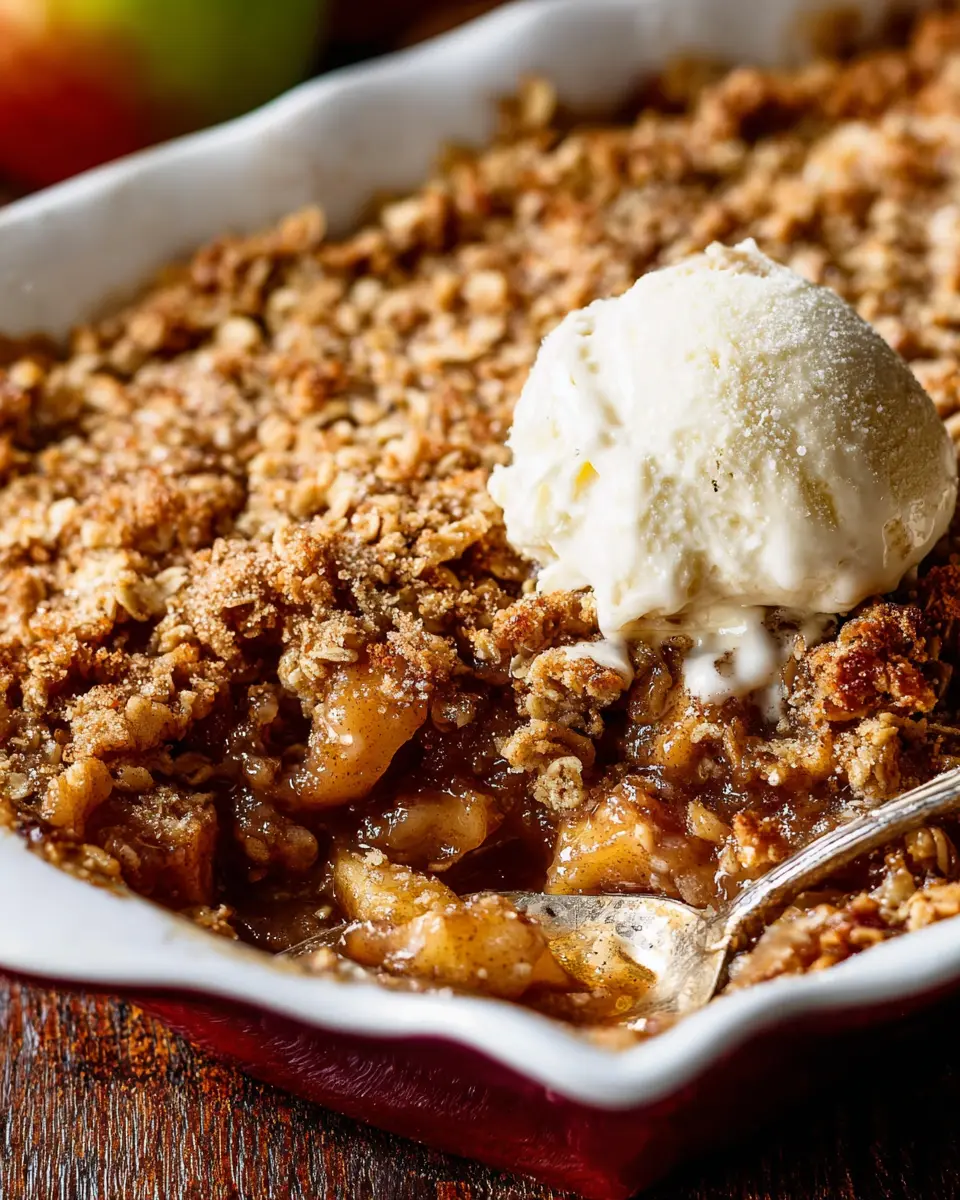
Nothing elevates a classic apple crisp recipe quite like a scoop of creamy vanilla ice cream. The cold, sweet ice cream melts slightly upon contact with the warm, spiced apple filling, creating a delightful contrast. For a gourmet touch, consider using artisanal vanilla bean ice cream or even a cinnamon-flavored variety to match the rich flavors of your crisp. Serve each portion with a generous scoop on top for an indulgent dessert experience!
Optional Caramel Drizzle
For an extra layer of decadence, add a drizzle of homemade or store-bought salted caramel sauce over your warm apple crisp. The sweet, buttery caramel pairs beautifully with the tartness of the apples, enhancing the dish's overall flavor profile. If you’re feeling adventurous, try making your own caramel with this easy salted caramel recipe. The combination is sure to impress your friends and family at your next gathering!
Time Breakdown for Classic Apple Crisp
Preparation Time
Gather your ingredients and get ready to create a delicious classic apple crisp. This step takes about 15 minutes. Take your time, peel those apples, and enjoy the process!
Baking Time
Once everything is assembled, pop it in the oven. The classic apple crisp recipe needs about 45 minutes to bake until it’s golden brown and bubbly.
Total Time
From start to finish, you're looking at about 1 hour for this delightful dessert. Celebrate the charming aroma wafting through your home—you’re in for a tasty treat!
Nutritional Facts for Classic Apple Crisp
When indulging in a delicious classic apple crisp, it’s good to know what you’re treating yourself to. Here's a quick look at some key nutritional facts to consider:
Calories
A serving of classic apple crisp typically contains around 200-300 calories, depending on portion size and toppings. This makes it a comforting, yet wholly delightful dessert option.
Sugars
Each serving can have approximately 15-20 grams of sugars largely derived from natural sources like apples and added sugars from brown sugar, giving that sweet burst of flavor.
Fiber
You’re also getting a decent amount of dietary fiber—about 2-3 grams per serving. Thanks to the oats and apples, this dessert can help contribute to your daily fiber intake!
For deeper insights on nutritional benefits, consider checking out resources from the USDA or Harvard Health. Enjoy your classic apple crisp—it's not just tasty; it's packed with some wholesome goodness, too!
FAQs about Classic Apple Crisp Recipe
Can I use different fruits in the crisp?
Absolutely! While the classic apple crisp recipe shines with apples, feel free to experiment. Pears, peaches, or berries can also create a delightful twist. Just balance the sweetness and acidity by adjusting sugar and spices accordingly.
How do I store leftover apple crisp?
To keep your apple crisp fresh and delicious, store it in an airtight container in the refrigerator. It will stay good for up to five days. If you want to keep it longer, consider freezing it. Just let it cool completely, wrap it tightly, and it can last up to three months.
What’s the best way to reheat apple crisp?
Reheating is simple! Preheat your oven to 350°F (177°C) and warm the apple crisp for about 15–20 minutes until it's heated through. This method not only warms it up but also preserves that amazing crispy topping. Pair it with some vanilla ice cream or salted caramel for an extra indulgent treat!
Feel free to share your thoughts or questions in the comments—happy baking!
Conclusion on Classic Apple Crisp Recipe
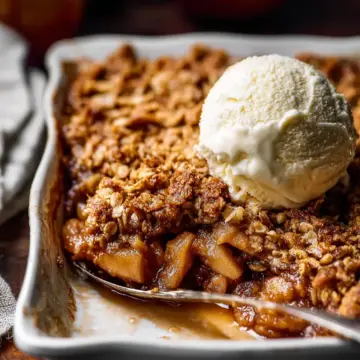
Embrace the warm, nostalgic flavors of this classic apple crisp recipe. Perfect for any gathering or simple weeknight dessert, it’s a delightful way to enjoy apples, oats, and that crunchy topping. Serve with a scoop of ice cream or drizzle with caramel for an extra special treat. Enjoy!
Classic Apple Crisp Recipe
Equipment
- 9x13-inch baking pan
- mixing bowl
- whisk
- Pastry cutter
- Cooling rack
Ingredients
Filling
- 8 medium apples, peeled and cut into chunks about 10 cups, or 1200g
- ½ cup packed light or dark brown sugar 100g
- ¼ cup all-purpose flour 31g, spooned & leveled
- 1 teaspoon pure vanilla extract
- 1 teaspoon ground cinnamon
- ½ teaspoon ground nutmeg
- ¼ teaspoon salt
Topping
- ¾ cup all-purpose flour 94g, spooned & leveled
- ¾ cup packed light or dark brown sugar 150g
- 1 teaspoon ground cinnamon
- ½ cup unsalted butter, cold and cubed 8 Tbsp; 113g
- 1 cup old-fashioned whole rolled oats 85g
Optional
- salted caramel for serving
- vanilla ice cream for serving
Instructions
Preparation
- Preheat oven to 350°F (177°C). Lightly grease a 9×13-inch baking pan. Any 3.5-4-quart baking dish works.
- Mix all of the filling ingredients together in a large bowl, then spread into the baking pan.
- Make the topping: Whisk the flour, brown sugar, and cinnamon together in a medium bowl. Cut in the butter using a pastry cutter or fork until the mixture becomes super crumbly. Stir in the oats. Sprinkle over filling.
- Bake for 45 minutes or until the topping is golden brown and the fruit juices are bubbling around the edges. Remove from the oven, place on a wire rack, and allow to cool for at least 5 minutes before serving. Serve warm, room temperature, or cold; plain or with salted caramel and/or vanilla ice cream.
- Cover leftovers and store in the refrigerator for up to 5 days.


Leave a Reply