
Introduction to Pumpkin Crisp
When the leaves turn golden and the air gets that crisp bite, it’s officially pumpkin season! One of the ultimate fall desserts that captures the essence of autumn is Pumpkin Crisp. This delightful dish combines the rich, spicy flavors of pumpkin pie with a crunchy, buttery streusel topping, making it a standout treat for any gathering.
What makes Pumpkin Crisp the ultimate fall dessert? For starters, it’s warm, comforting, and incredibly easy to prepare. Picture this: you walk in from the chill outside, and the inviting aroma of cinnamon and pumpkin welcomes you. It’s the perfect dessert to serve at family gatherings or cozy nights in with friends. Plus, when paired with a scoop of creamy vanilla or even cinnamon ice cream, it turns into an indulgent experience that no one can resist.
Not only is Pumpkin Crisp delicious, but it's also versatile. Whether you’re looking for a sweet ending to Thanksgiving dinner or just a simple treat for a rainy day, this dish fits the bill perfectly. Get ready to delight your taste buds and bring a slice of autumn into your kitchen!
For a detailed recipe, make sure to check the ingredients and instructions below!
Ingredients for Pumpkin Crisp
Creating a delicious Pumpkin Crisp is all about assembling the right ingredients. Here’s what you’ll need to bring this delightful dessert to life!
Key Ingredients for the Pumpkin Pie Layer
- Pumpkin Puree: One 15 oz can provides that rich, autumnal flavor. You can even make your own homemade puree if you're feeling adventurous!
- Granulated Sugar: A full cup sweetens the mix, balancing the natural earthiness of pumpkin.
- Eggs: Three large eggs are crucial for richness and help set the filling.
- Pumpkin Pie Spice: Two teaspoons take your dessert to the next level with warm, inviting aromas.
- Salt: Just half a teaspoon enhances all the flavors.
- Vanilla Extract: A couple of teaspoons add depth to the overall flavor.
- Heavy Cream: Two-thirds of a cup gives the filling a luscious texture.
Essential Components for the Cinnamon Streusel
- All-Purpose Flour: Two cups create the base for your crumbles.
- Granulated Sugar: This time, one and a half cups ensure a delightful sweetness.
- Cinnamon: Adding two teaspoons introduces that familiar holiday spice.
- Salt: A pinch of half a teaspoon maintains flavor harmony.
- Unsalted Butter: Melted, this adds richness—use twelve tablespoons (1 ½ sticks) to bring the streusel to life.
Now that you have your ingredients set, let’s get cooking!
Preparing Pumpkin Crisp
Making a delightful pumpkin crisp is an enjoyable adventure in your kitchen that yields an irresistible dessert to share with family and friends. Follow these simple steps, and you’ll have a delicious treat that’s perfect for any fall gathering!
Preheat the oven and prepare your baking dish
The first step in your pumpkin crisp journey is preheating your oven to 375°F. While your oven warms up, grab your favorite baking dish—a 12-inch cast iron skillet works wonders, but a medium casserole dish will do just fine if that’s what you have on hand. Lightly butter the dish to ensure your crisp doesn’t stick. Preparation is key, so take this time to gather all your ingredients and tools for the next steps!
Mix the pumpkin pie layer ingredients
Now comes the fun part! In a large mixing bowl, whisk together the following:
- 1 (15 oz) can pumpkin puree
- 1 cup granulated sugar
- 3 large eggs
- 2 teaspoons pumpkin pie spice
- ½ teaspoon salt
- 2 teaspoons vanilla extract
- ⅔ cup heavy cream
Whisk these ingredients until they are smooth and well combined. This mixture will be the heart of your pumpkin crisp, so give it some love! Pour this luscious pumpkin pie layer into your prepared baking dish, and set it aside.
Create the cinnamon streusel topping
To add delightful texture and flavor, let’s create the cinnamon streusel topping. In a medium bowl, whisk together:
- 2 cups all-purpose flour
- 1 ½ cups granulated sugar
- 2 teaspoons cinnamon
- ½ teaspoon salt
Next, pour in 12 tablespoons (1 ½ sticks) of melted unsalted butter. Stir with a fork until it becomes crumbly. The streusel should resemble moist sand, perfect for creating that crunchy layer on top. If you prefer greater ease, feel free to use a hand mixer for this step!
Assemble the layers and bake
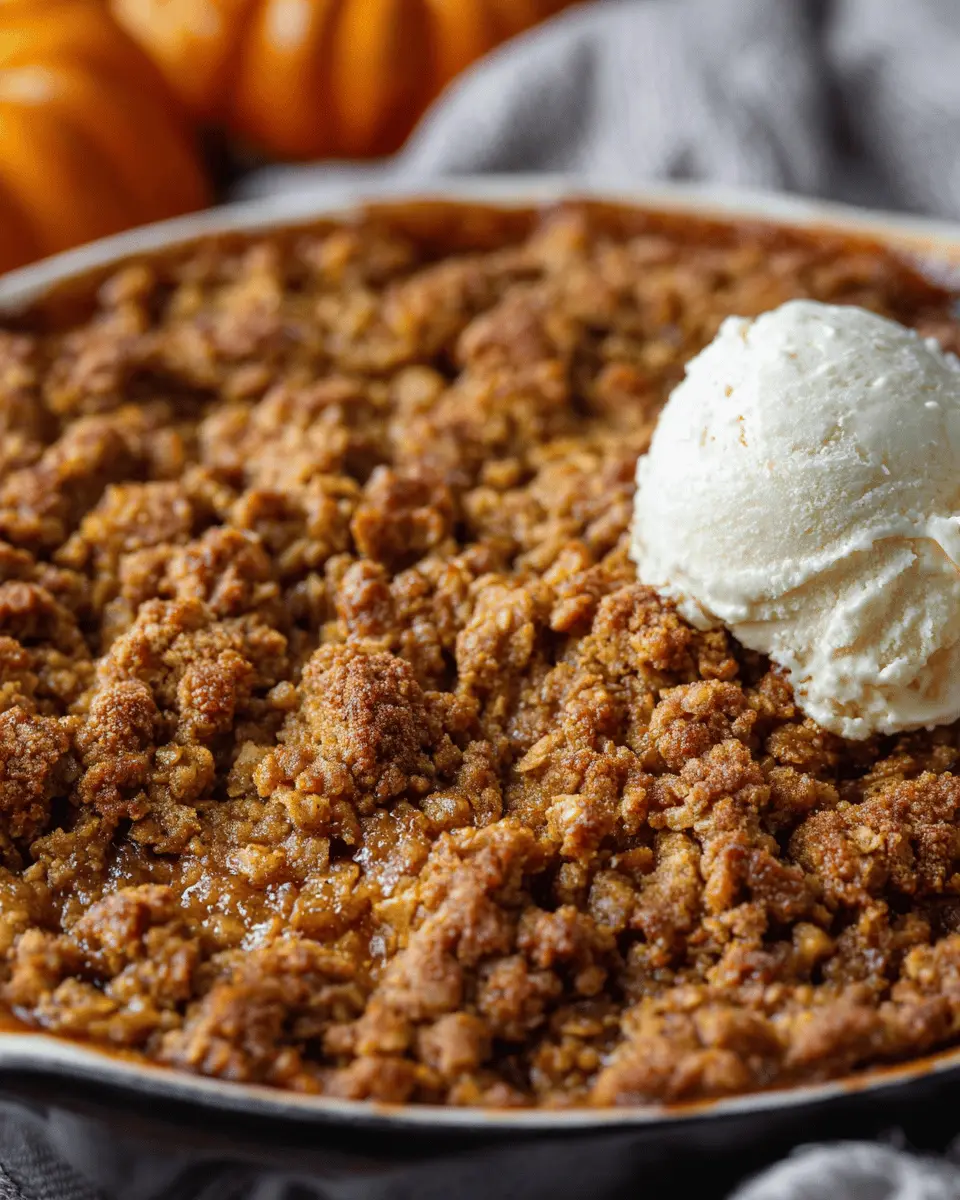
Now it’s time to bring your pumpkin crisp to life! Evenly spread the cinnamon streusel over the pumpkin pie layer in your baking dish. Bake in your preheated oven for 40 to 45 minutes, until the filling is set and the topping is golden brown. Keep an eye on it—if the streusel starts to brown too quickly, you can cover it lightly with foil to prevent over-browning.
Cooling and serving suggestions
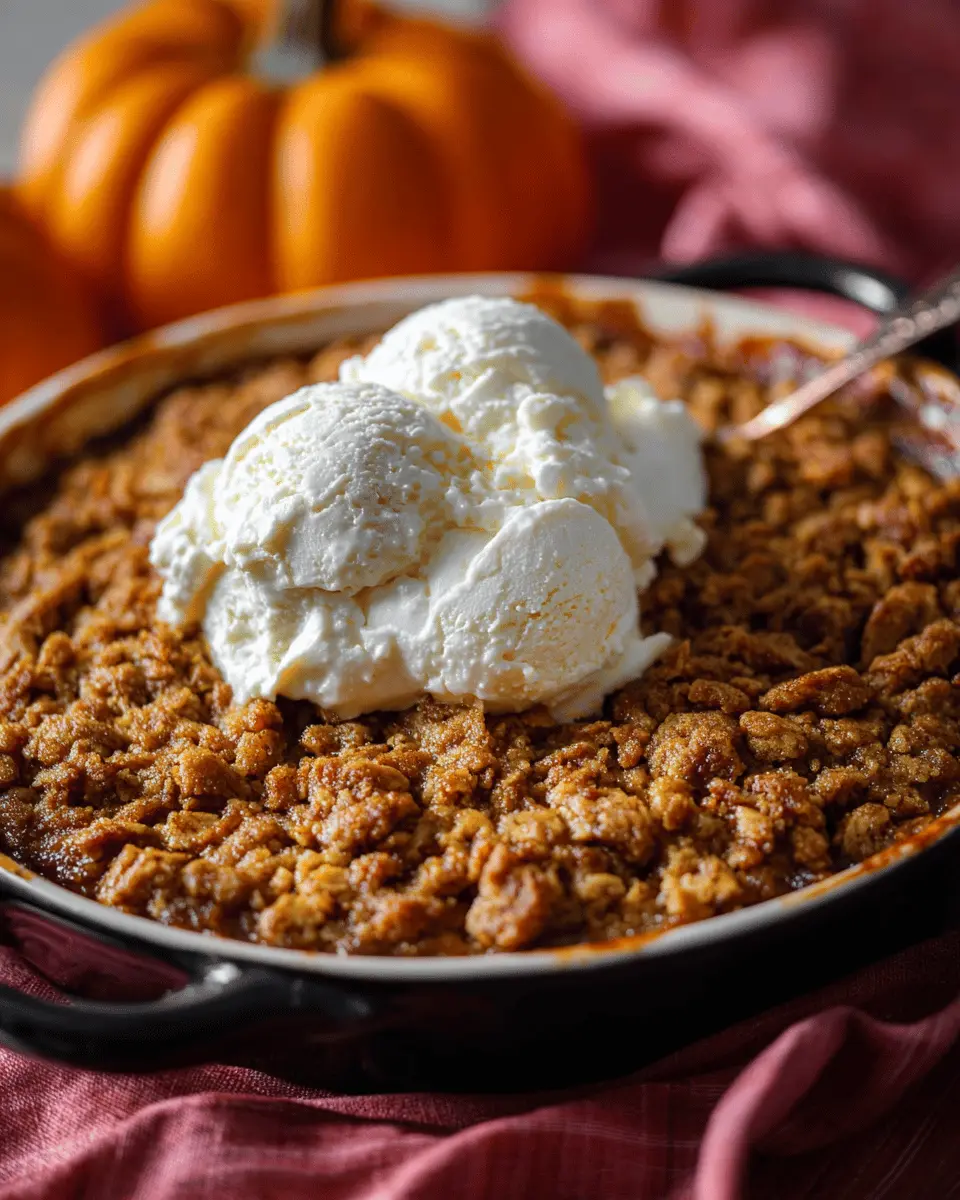
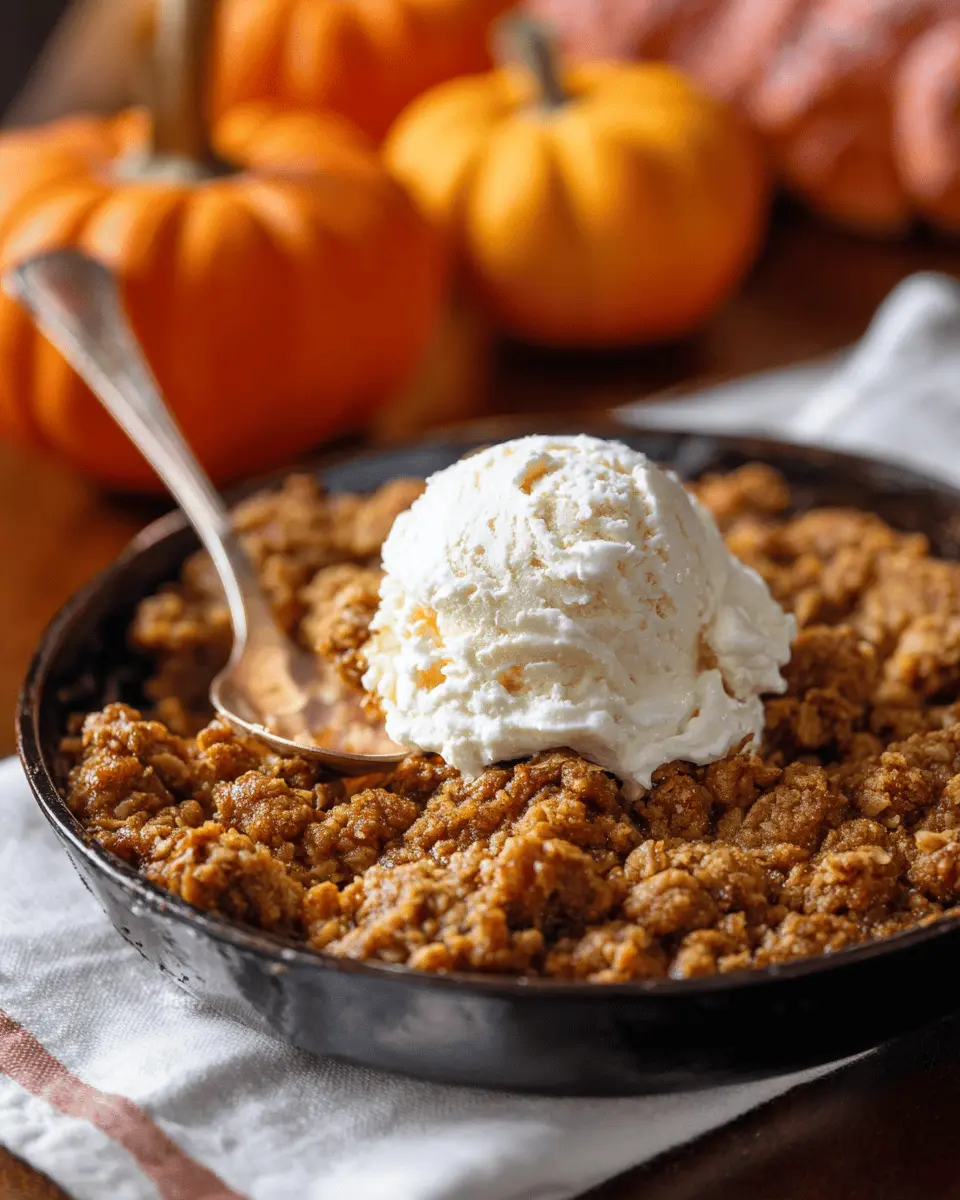
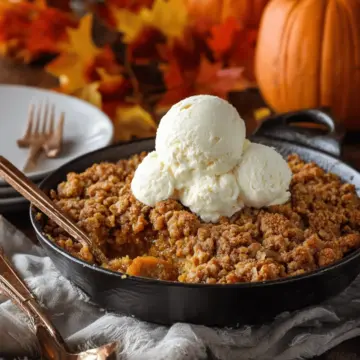
Once out of the oven, let your pumpkin crisp cool for about 10 minutes. This resting period is crucial! It allows the pie filling to firm up, making serving easier. For an extra special touch, serve warm with a scoop of vanilla ice cream or a dollop of whipped cream. If you’re feeling adventurous, try pairing it with cinnamon ice cream for a delightful twist!
With these steps, you’ve successfully created a warm, comforting pumpkin crisp. Your friends and family will surely be impressed with this scrumptious dessert—enjoy!
Variations on Pumpkin Crisp
Pumpkin Crisp with Added Nuts
For a delightful twist, try incorporating nuts into your pumpkin crisp. Chopped pecans or walnuts not only add a satisfying crunch but also enhance the flavor profile. Simply mix about a cup of your favorite nuts into the cinnamon streusel topping for an extra layer of texture and richness. You can also toast the nuts beforehand for a deeper, nuttier taste. This variation will surely impress your friends at the next autumn gathering!
Autumn Spiced Variations
If you're looking to elevate the classic recipe, consider adding different spices for an autumn-inspired flair. Experiment with a dash of nutmeg or allspice in the pumpkin layer, or even a hint of ginger for warmth. You could also swirl in caramel or chocolate for a decadent treat. Each of these variations complements the cozy flavors of pumpkin crisp while keeping things fresh and exciting. Don’t be afraid to mix and match until you find your personal favorite!
Cooking Tips and Notes for Pumpkin Crisp
Time-saving Tips for Prep
To streamline your cooking process, consider using canned pumpkin puree to save time on prepping fresh pumpkins. While the flavor of fresh can be delightful, the canned version is super convenient, especially when you’re pressed for time. You can also whisk the pumpkin pie layer ingredients together in one bowl before moving on to the streusel topping, minimizing dish cleanup.
Substitutions for Common Ingredients
If you’re out of heavy cream, you can easily swap it for coconut milk for a delightful twist. For those who have dietary restrictions, plant-based butter or oil can work instead of unsalted butter in the cinnamon streusel. And if you don't have pumpkin pie spice, simply mix equal parts cinnamon, nutmeg, and ginger for a similar flavor profile.
Need more ingredient ideas? Check out this helpful resource on substituting baking ingredients.
Serving suggestions for Pumpkin Crisp
Best accompaniments for pumpkin crisp
When serving your pumpkin crisp, consider pairing it with a dollop of freshly whipped cream or a scoop of vanilla ice cream to elevate its creamy texture. For a fun twist, try cinnamon ice cream if you can find it; the flavor truly enhances the pumpkin filling. A sprinkle of chopped nuts or crushed gingersnaps on top adds a delightful crunch and complements the spices beautifully.
Creative serving ideas for gatherings
Make your pumpkin crisp the star at your next gathering by serving it in individual ramekins for a charming presentation. Alternatively, set up a dessert bar with various toppings—think caramel sauce, toasted pecans, or even a drizzle of maple syrup. These simple additions can transform a classic dessert into a memorable experience for your guests! Plus, it’s a great way to engage with everyone while exploring flavor combinations together. Happy sharing!
Time Breakdown for Pumpkin Crisp
Preparation Time
Preparing your Pumpkin Crisp takes about 15 minutes. This quick step includes gathering ingredients and whisking everything together until smooth.
Baking Time
Pop the dish into the oven and let it bake for 40 to 45 minutes. You'll know it's done when the topping is golden brown and the filling is set.
Total Time
From start to finish, you’re looking at about 1 hour. In just an hour, you’ll have a delicious dessert ready to impress at your next gathering!
Nutritional Facts for Pumpkin Crisp
Calories per serving
A single serving of Pumpkin Crisp contains approximately 378 calories, making it a delightful yet indulgent treat for fall gatherings or cozy nights in.
Breakdown of macronutrients
In addition to its calorie count, here’s a quick overview of the pumpkin crisp’s macronutrient profile per serving:
- Carbohydrates: 28g
- Protein: 7g
- Fat: 27g (of which 16g is saturated fat)
- Fiber: 2g
- Sugars: 2g
Enjoy your Pumpkin Crisp knowing that it offers a tasty balance of flavors, with a touch of nutrition tucked in! For a deeper dive into the ingredients, consider exploring the benefits of pumpkin puree here or discover more about the world of spices with this pumpkin pie spice guide.
FAQs about Pumpkin Crisp
Can I make pumpkin crisp ahead of time?
Absolutely! You can prepare the pumpkin layer and the streusel topping separately. Simply follow the recipe up to the point of adding the streusel. Cover the pumpkin layer in the pan and refrigerate, and store the streusel in an airtight container in the fridge for up to 48 hours. When you’re ready to bake, take them out, let them sit at room temperature while preheating the oven, then sprinkle the streusel on top and bake as directed.
What’s the best way to store leftovers?
Store any leftover pumpkin crisp in the refrigerator, where it will stay fresh for up to five days. For a quick reheat, pop a serving in the microwave for about 20 seconds. Whether warm or cold, it’s still delicious!
How can I make pumpkin crisp gluten-free?
To make a gluten-free version of pumpkin crisp, substitute the all-purpose flour in the streusel with a gluten-free flour blend. Ensure all ingredients, especially the pumpkin puree and pumpkin pie spice, are certified gluten-free. Enjoy this tasty twist without worry!
Conclusion on Pumpkin Crisp
In summary, pumpkin crisp is a delightful treat that's perfect for autumn gatherings or cozy evenings at home. Its combination of creamy pumpkin filling and crunchy streusel topping creates a comforting dessert experience. Don't forget to serve it warm with your favorite ice cream or whipped cream—you're bound to love every bite!
Pumpkin Crisp Delight: A Cozy, Indulgent Fall Treat
Equipment
- 12-inch cast iron skillet
Ingredients
Pumpkin Pie Layer
- 1 can pumpkin puree 15 oz
- 1 cup granulated sugar
- 3 large eggs
- 2 teaspoons pumpkin pie spice
- ½ teaspoon salt
- 2 teaspoons vanilla extract
- ⅔ cup heavy cream
Cinnamon Streusel
- 2 cups all-purpose flour
- 1 ½ cups granulated sugar
- 2 teaspoons cinnamon
- ½ teaspoon salt
- 12 tablespoons unsalted butter melted (1 ½ sticks)
Instructions
Preparation
- Preheat oven to 375°F. Butter a 12-inch cast iron skillet or a medium casserole dish. Set aside.
- In a large bowl, whisk together pumpkin, sugar, eggs, pumpkin pie spice, salt, and vanilla extract. Whisk in heavy cream until smooth. Pour into prepared skillet and set aside.
- In a medium bowl, whisk together flour, sugar, cinnamon, and salt. Add melted butter and stir with a fork until crumbly. Spread cinnamon streusel topping on top of pumpkin pie mixture in an even layer.
- Bake until filling is set and top is golden brown, 40 to 45 minutes. If the crumb topping happens to brown too quickly, you can lightly cover the top with foil to prevent it from browning any more.
- Let cool for 10 minutes, so the pie filling can firm up. Then serve warm topped with ice cream or whipped cream.
Leave a Reply